
 Instant Quote
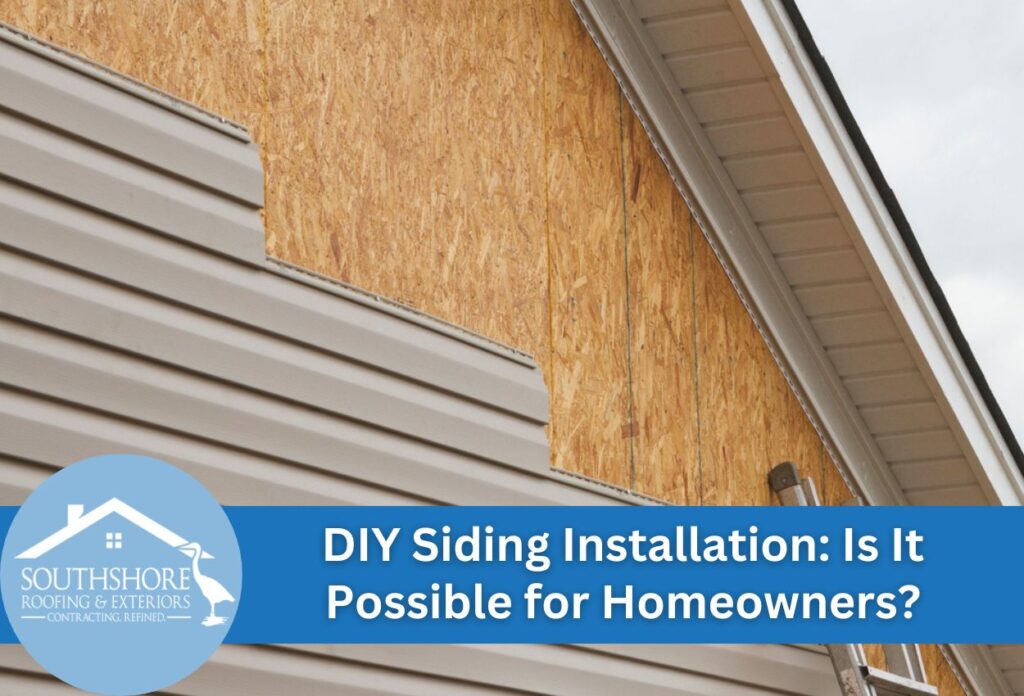
Tackling home improvement projects can be rewarding, and siding installation is one task many homeowners consider doing themselves. The question “Can you DIY siding installation?” is common among Tampa homeowners looking to refresh their home’s exterior while managing costs. The answer isn’t simply yes or no — it depends on several factors, including your skill level, available time, and the complexity of your home’s design.
DIY siding replacement steps vary based on the material chosen and the current condition of your home’s exterior. While some materials like vinyl are more DIY-friendly, others require specialized skills and tools. Homeowners with basic carpentry experience and proper tools might successfully install certain types of siding, particularly on single-story homes with straightforward designs.
The appeal of self-installed siding often comes from potential savings on labor costs, which can be substantial. However, these savings must be weighed against the time required, typically a few weekends for an average-sized home, and the risk of common mistakes that could lead to water damage or reduced energy efficiency.
Before deciding if DIY siding installation is right for your Tampa home, it’s important to understand both the benefits and challenges. Professional siding contractors often recommend assessing your skills honestly and researching thoroughly before committing to this significant project.
Assessing Your Skill Level: Is DIY Siding Right for You?
Before grabbing your tools and heading to the hardware store, it’s essential to honestly evaluate whether you have the necessary skills for siding installation. This project requires precision in measuring, cutting, and securing materials to ensure water-tight seals and proper insulation. Experience with power tools like circular saws, nail guns, and drills is non-negotiable, as is comfort working on ladders and scaffolding for extended periods.
Your home’s characteristics significantly impact project difficulty. Single-story ranch homes with simple rectangular designs are more approachable for DIY enthusiasts than two-story homes with multiple gables, dormers, or curved architectural elements. In Tampa’s climate, moisture barriers and flashing installation are critical to prevent water damage during heavy rains and hurricane season.
Consider your physical stamina as well. Siding panels, especially fiber-cement options, can be heavy and awkward to handle alone. Vinyl siding is lighter and among the best materials for beginner siding installation, but still needs to be carefully handled to prevent warping in our Florida heat.
The tools needed for home siding projects extend beyond basic household items. You’ll need a siding removal tool, a snap lock punch, and J-channel cutters. Tampa homeowners should assess both their skill level and the specific requirements of their property before deciding if DIY is truly the cost-effective option.
What You Need for DIY Siding Projects
Successfully completing a DIY siding installation requires having the right tools and materials at your disposal. For Tampa homeowners considering this project, preparation can mean the difference between professional-looking results and expensive mistakes.
The tools needed for home siding projects fall into two categories: standard and specialized. Standard tools include a hammer, tape measure, chalk line, level, utility knife, and square. You’ll also need power tools such as a circular saw, drill, and nail gun. Specialized siding tools that make the job easier include a snap lock punch, a J-channel cutter, a siding removal tool, tin snips, and a vinyl siding cutting tool. While some tools can be rented, having these on hand allows for better precision throughout your project.
Choosing the best materials for beginner siding installation requires balancing durability, cost, and ease of installation. Vinyl siding remains popular for DIY projects because it’s lightweight, relatively easy to install, and stands up well to Tampa’s humid climate. Fiber cement offers superior durability but is heavier and more difficult to cut. Wood siding provides classic appeal but requires significant maintenance in Florida’s humid environment.
When choosing siding materials, keep Tampa’s intense sun, high humidity, and potential hurricane-force winds in mind. Quality underlayment and moisture barriers are just as important as the siding material itself, providing essential protection against water intrusion that can damage your home’s structure.
Step-by-Step Siding Installation Process
Proper siding installation follows a specific process that protects your Tampa home while enhancing its appearance. Understanding each step before beginning can help you avoid common mistakes in self-installed siding and achieve professional-quality results.
Begin by thoroughly measuring your home’s exterior walls, adding 10% extra material for waste and mistakes. Remove existing siding carefully, working from top to bottom to prevent damage to the underlying structure. Inspect the exposed sheathing for water damage, rot, or pest infestations that require repair before proceeding. This critical preparation step is often overlooked in DIY vinyl siding installation guides, but is essential for lasting results.
Installing a moisture barrier is non-negotiable in Tampa’s humid climate. Wrap the entire home with house wrap, overlapping seams by at least 6 inches and securing with cap nails. Properly flash all windows, doors, and penetrations to prevent water intrusion during heavy rains.
For the actual installation, begin with starter strips at the bottom of the walls, ensuring they’re perfectly level. Work upward, overlapping panels according to the manufacturer’s specifications. Pay special attention to corners, windows, and doors where leaks are most likely. Use J-channels around openings and finish with trim pieces. Many DIY siding replacement steps require a helper, particularly when handling longer panels to maintain proper tension and alignment.
Common DIY Siding Installation Mistakes and How to Avoid Them
Even with careful planning, DIY siding installations can go awry when homeowners overlook critical details. Knowing these common mistakes beforehand can save Tampa homeowners significant time, money, and frustration. The most frequent error is improper measurement, which leads to excessive waste, uneven seams, or insufficient materials that delay project completion.
Inadequate fastening represents another common mistake, as DIYers often either under-nail panels, causing them to detach during storms, or over-drive nails, restricting the siding’s natural expansion and contraction in Florida’s temperature fluctuations. Proper nailing technique places fasteners in the center of slots, leaving 1/32-inch clearance between the nail head and panel.
Weatherproofing failures frequently doom DIY siding projects in Tampa’s climate. Skipping flashing around windows, doors, and other penetrations creates vulnerable points for water intrusion. Similarly, incorrect house wrap installation, such as improperly overlapped seams or inadequate sealing around openings, compromises your home’s moisture barrier.
To avoid these issues, thoroughly research the manufacturer’s installation guidelines specific to your siding material. Take time to create detailed plans before cutting your first panel. If you are uncertain about complex sections like dormers or unusual architectural features, consult with professional siding contractors. Tampa homes face heat, humidity, and severe weather, making correct installation particularly important for long-term performance.
Vinyl Siding: The Most DIY-Friendly Option
Among all siding materials available to Tampa homeowners, vinyl stands out as the most accessible option for those wanting to tackle installation themselves. Its popularity in DIY projects stems from several characteristics that make it manageable even for those with limited construction experience.
Vinyl siding’s lighter weight means one person can typically handle individual panels without assistance, unlike heavier materials like fiber cement that require multiple people. The interlocking design creates a straightforward installation process where each piece connects to the next in a logical sequence. Additionally, vinyl’s flexibility allows it to accommodate minor imperfections in wall surfaces that would cause issues with more rigid materials.
When installing vinyl siding in Tampa, using the right techniques is especially important. Allow 1/4-inch gaps at all ends of panels where they meet trim pieces to accommodate expansion during our hot summer months. Avoid installing vinyl during the hottest part of the day, as panels can stretch in extreme heat and then contract later, creating buckling issues.
The forgiving nature of vinyl means small mistakes are often correctable without replacing entire sections. Tools needed for vinyl siding projects are also more readily available than other materials, with utility knives, tin snips, and other tools for sale at local home improvement stores. While professional installation guarantees optimal results, vinyl siding represents the best opportunity for Tampa homeowners to successfully complete a DIY siding replacement project.
When to Call the Professionals: Knowing Your Limits
While DIY siding installation can be rewarding, recognizing when a project exceeds your capabilities is crucial for your safety and home’s integrity. Complex architectural features like multiple dormers, turrets, or intricate trim work often require more in-depth knowledge and tools that most homeowners don’t have. These sections need precise cutting and fitting that, when done incorrectly, can lead to water intrusion and structural damage.
Height considerations are another significant factor for Tampa homes with two or more stories. Working at elevations above 10 feet substantially increases fall risks and complicates material handling. Professional contractors have scaffolding, safety equipment, and trained crews to manage these challenges safely and efficiently.
Structural issues discovered during siding removal should immediately halt your DIY plans. Signs like rotted sheathing, termite damage, or compromised framing require professional assessment and repair before new siding installation. Many Tampa homes, particularly older properties, may reveal these problems once existing siding is removed.
A balanced approach often works best for ambitious homeowners. Consider handling straightforward sections yourself while contracting professionals for complicated areas. This hybrid strategy allows you to participate in your home’s transformation while ensuring critical components receive expert attention. Remember that reputable Tampa siding contractors can provide valuable advice even if you’re planning a partial DIY project, helping you determine which aspects are truly within your skill level.
Professional Help for Your Siding Installation Needs in Tampa
If you’re considering a DIY siding installation but are uncertain about the process or the tools required, it might be time to call in the experts. SouthShore Roofing & Exteriors is here to help ensure that your siding installation is done right the first time. We understand the unique challenges that Tampa’s climate poses and offer tailored solutions to meet your home’s needs.
Attempting siding installation without the necessary skills or tools can lead to major mistakes. Let the professionals at SouthShore Roofing & Exteriors take care of your siding project from start to finish. With our expertise, you can rest assured that your siding will be installed correctly and efficiently, protecting your home for years to come.
Ready to ensure your home looks its best and stands up to Tampa’s weather? Call SouthShore Roofing & Exteriors today at (813) 400-3329 to discuss your siding installation needs and schedule a consultation.
Related Articles
-
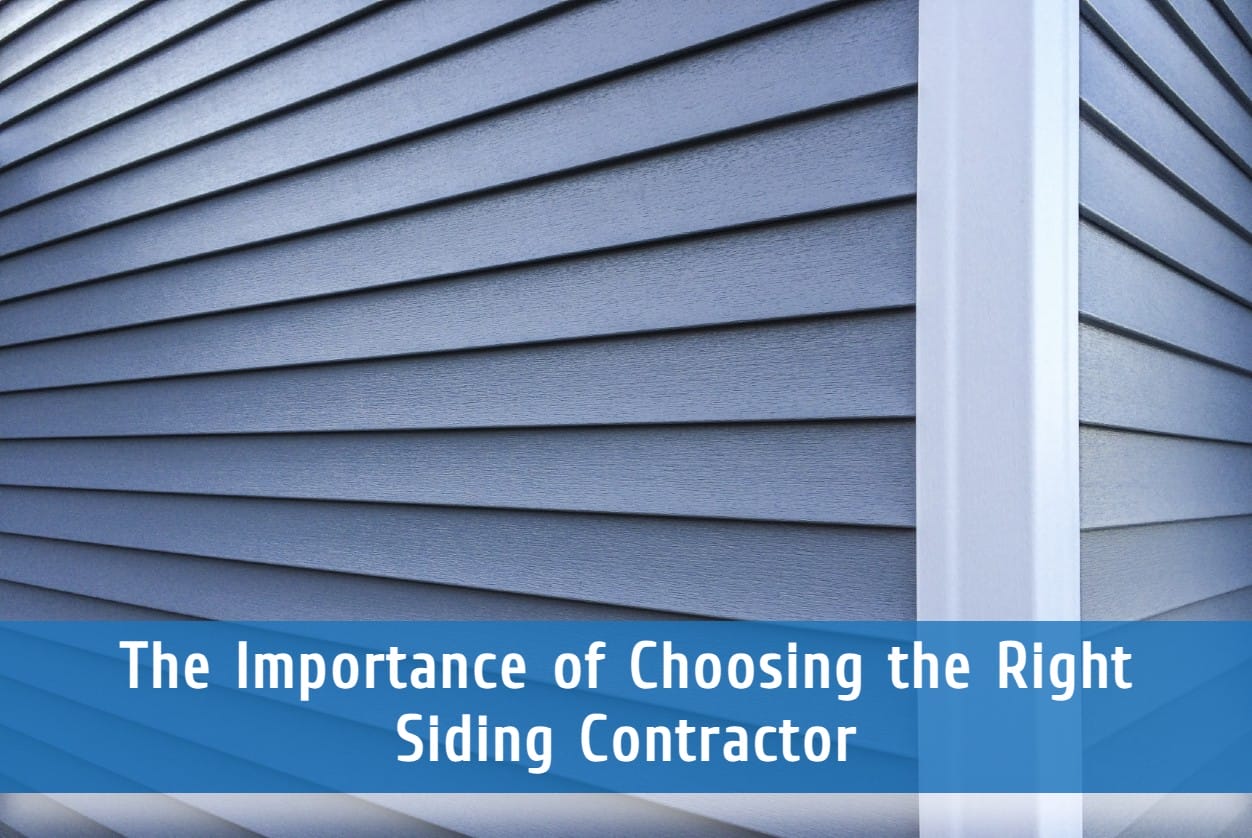 January 9, 2025The Importance of Choosing the Right Siding ContractorYour home’s siding is not only an essential part of its aesthetic appeal, but it also acts as the first line of defense against the elements. That’s why it’s vital to choose the right siding contractor to install or repair your siding. A professional siding contractor has the knowledge and expertise to ensure that your […]
 -
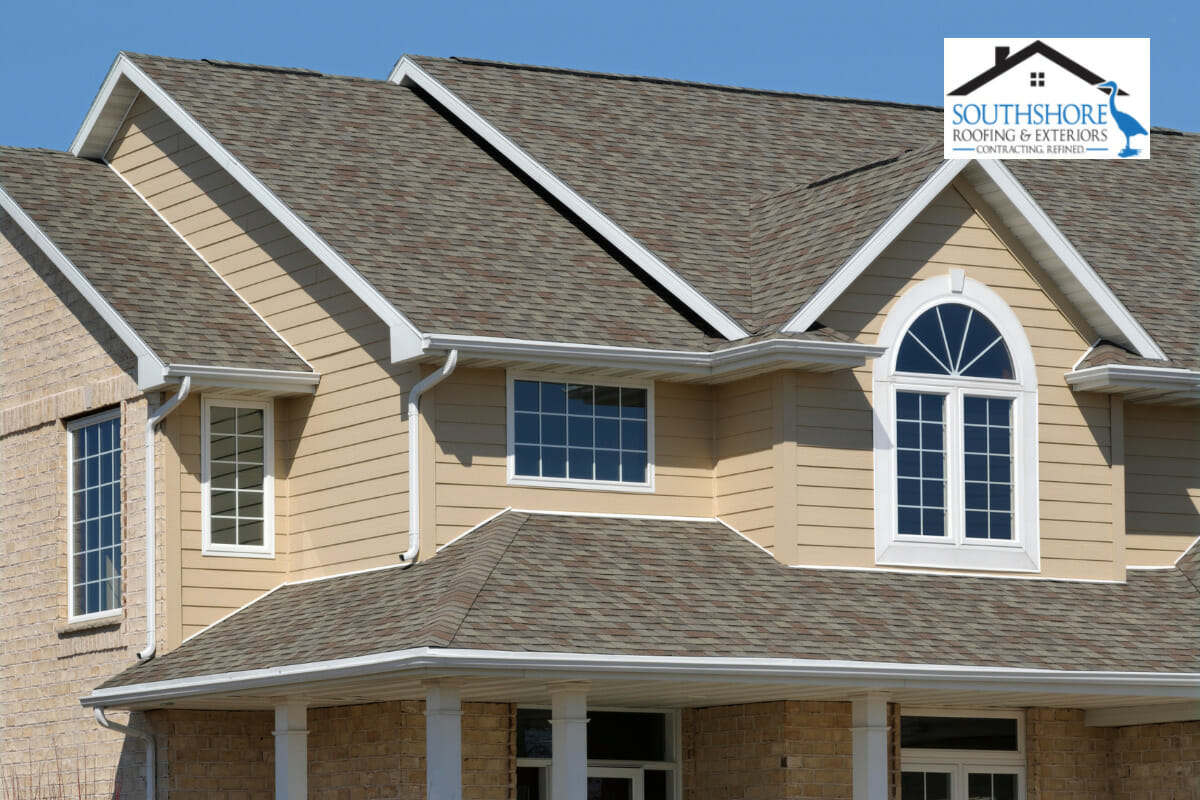 September 26, 2024James Hardie Siding: A Perfect Match for Your HomeSiding is one of the most important aspects of your home’s exterior. It not only protects your home from harmful weather elements but also provides a sense of security. Additionally, it plays a key role in achieving great curb appeal for your home. Depending on your location, the type of siding you choose could play […]
 -
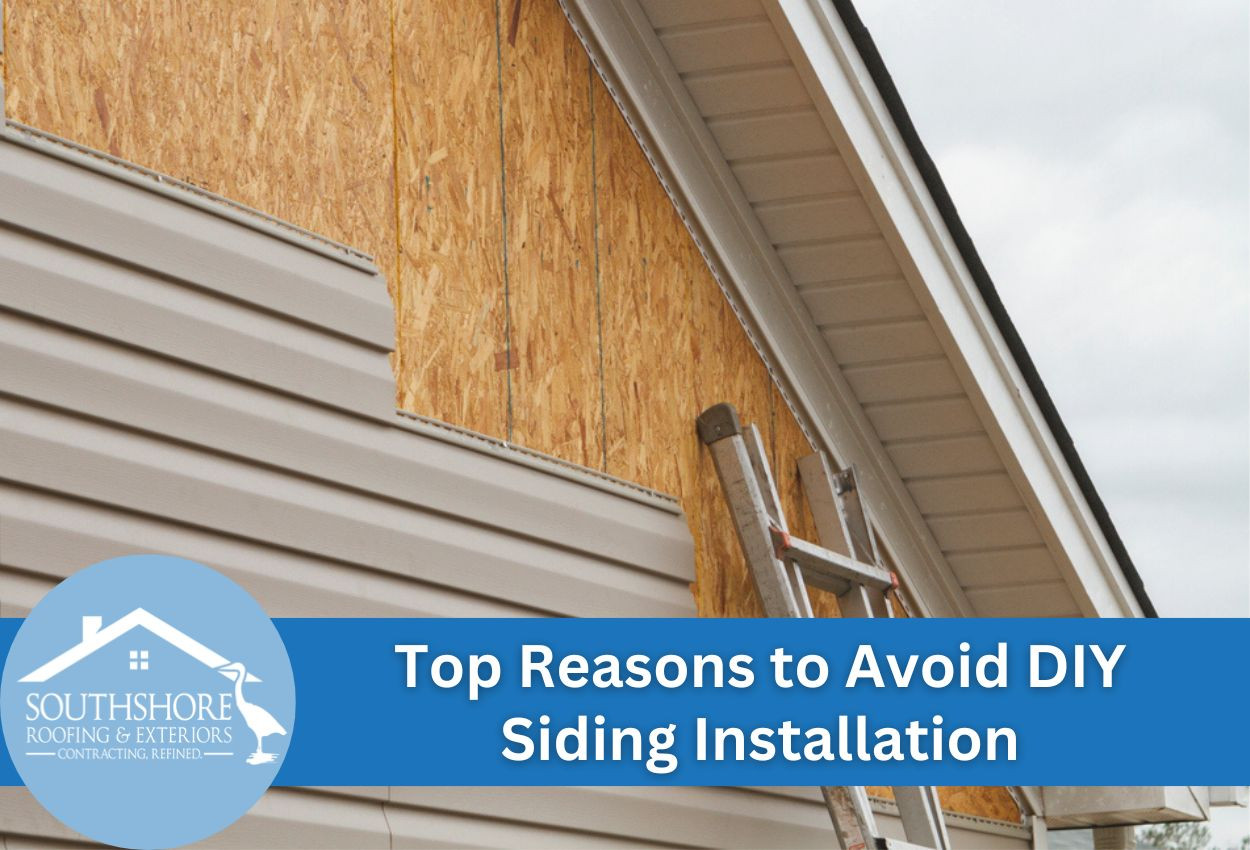 June 23, 2024Top Reasons to Avoid DIY Siding Installation: Risks & Costs ExplainedConsidering DIY siding installation? Learn why hiring professionals is a safer choice to avoid costly mistakes.
Protect Your Home with Expert Roofing
Don’t wait for leaks or storm damage to cause costly repairs. Our experienced roofing team provides fast, reliable service, high-quality materials, and lasting results. Ensure your home stays safe, secure, and looking great—contact us today for a free estimate.


