Instant Quote
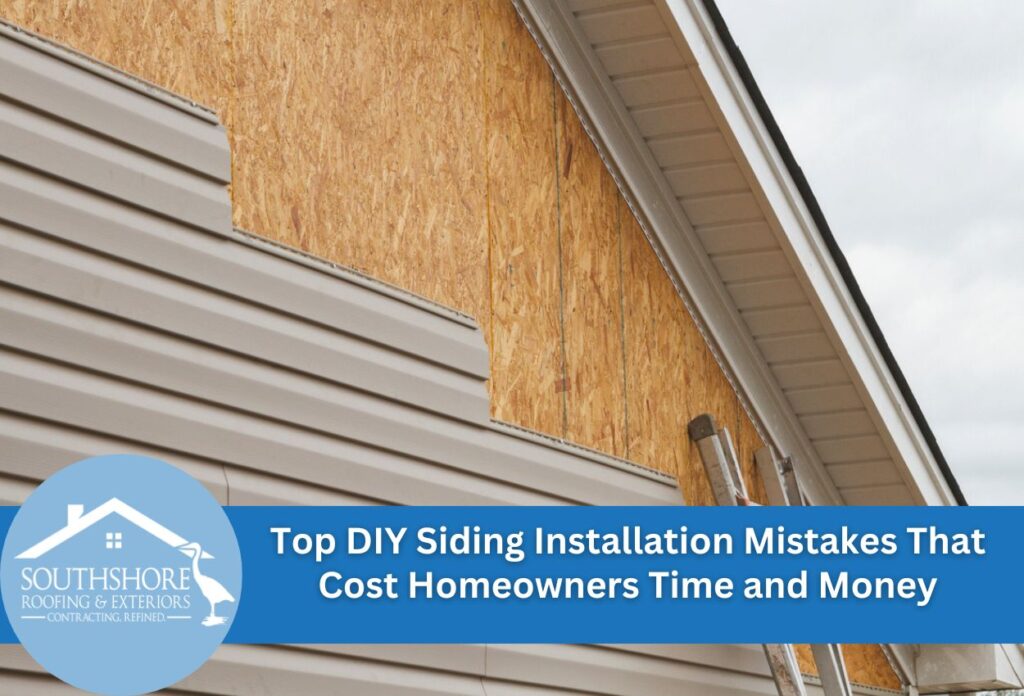
Top DIY Siding Installation Mistakes That Cost Homeowners Time and Money
Key Points:
- Avoid common DIY siding installation mistakes like poor planning, improper nailing, and inadequate flashing to save significant time and money.
- Initial errors in measuring, material calculation, and starter strip leveling can derail your entire siding project from the start.
- Incorrect nailing techniques, panel overlap, and neglecting to install flashing creates weak points, leading to warping and severe water damage.
DIY siding installation projects frequently fail due to improper planning, inadequate material preparation, and poor-quality installation techniques. These common DIY siding installation mistakes create ongoing problems that force homeowners to invest additional time and resources into corrections or complete reinstallation.
Siding installation errors typically stem from misunderstanding manufacturer specifications, using incorrect tools, or rushing through critical preparation steps. The types of problems can also depend on the siding material, as vinyl installation problems often include improper spacing, inadequate ventilation planning, and failure to account for thermal expansion. These issues compromise the siding’s structural integrity and weather resistance.
Understanding how to install siding properly requires recognizing where most homeowners go wrong before starting the project. The most expensive mistakes occur during the initial planning phase and material measurement process. Improper nail placement, insufficient moisture barriers, and inadequate flashing installation represent the most frequent technical errors that lead to water damage and premature material failure.
Following established siding installation, maintenance and identifying potential pitfalls early prevents expensive repairs and ensures long-term performance. Recognizing these common installation errors helps homeowners make informed decisions about tackling the project independently or seeking professional assistance.
Measuring and Planning Errors That Derail Your Project Before It Starts
Errors with material measurements represent one of the most expensive siding installation errors that plague DIY projects. Homeowners frequently underestimate square footage requirements, leading to costly project delays when additional materials must be ordered mid-installation. Overestimating creates unnecessary expenses and waste disposal challenges that significantly impact project budgets.
Accurate measurements require accounting for waste, trim pieces, and starter strips that many homeowners overlook during initial planning. Common DIY siding installation mistakes include failing to measure window and door openings properly, neglecting to calculate corner trim requirements, and miscounting the number of courses needed for proper installation height.
It’s also important to account for thermal expansion, especially if you’re utilizing wood siding. Different climate conditions cause siding materials to expand and contract at varying rates throughout the year. Failure to incorporate proper gaps for expansion may result in buckling, warping, and premature material failure during temperature fluctuations.
How to install siding properly requires understanding that expansion gaps vary based on installation temperature and expected seasonal temperature ranges. The best practices for installation require leaving enough space at corners, around openings, and between panel ends to accommodate natural material movement without compromising the installation’s structural integrity.
Foundation and Starter Strip Problems That Compromise Your Entire Installation
Starter strip placement forms the foundation for every siding row that follows, making proper installation critical for the overall success of the project. Incorrect starter strip leveling creates alignment issues that compound with each additional course, resulting in visibly crooked siding that impact both the look and weather protection. These siding installation errors often require complete removal and reinstallation to correct properly.
Irregularities in the building’s foundation present significant challenges that many DIY installers fail to address adequately. Uneven foundation walls require careful measurement and strategic starter strip placement to compensate for variations in level. Common DIY siding installation mistakes include assuming foundations are level without verifying it, leading to progressively worse alignment problems as installation progresses upward.
Understanding how to install siding properly requires establishing a perfectly level baseline regardless of foundation irregularities. For installation, using chalk lines, laser levels, and careful measurements is important to ensure starter strips provide stable, level support for the entire installation.
Nailing Mistakes That Lead to Warping and Weather Damage
Improper nail placement is one of the most destructive siding installation errors that creates long-term structural problems. Over-driving nails compress siding panels against the building’s surface, preventing natural thermal expansion and contraction that causes buckling and warping during temperature changes. Under-driven nails fail to secure panels adequately, allowing wind uplift and movement that creates gaps where water infiltration occurs.
Correct nail spacing prevents panel distortion while maintaining proper weather resistance throughout the installation. Common DIY siding installation mistakes include placing nails too close to panel edges, using incorrect nail lengths, and failing to maintain consistent spacing between fasteners. These vinyl siding installation problems compromise the installation’s ability to move naturally with temperature fluctuations.
Nail placement within the designated slots requires precise positioning to allow horizontal panel movement without restriction. Installing siding properly requires understanding that nails should penetrate building sheathing adequately while avoiding compression that restricts panel flexibility. Incorrect fastener placement creates stress points that lead to cracking and premature material failure.
Siding installation best practices require maintaining proper nail spacing intervals and ensuring fasteners remain centered within elongated nail slots. Professional installations demonstrate that consistent nailing techniques prevent weather-related damage while maintaining the siding system’s structural integrity throughout seasonal temperature variations.
Panel Overlap and Seaming Errors That Create Weak Points in Your Siding
Proper panel overlap maintains weather resistance and structural integrity throughout the siding system. Insufficient overlap between horizontal panels creates vulnerable gaps where water enters, leading to moisture damage behind the siding material. Excessive overlap causes buckling problems when panels expand during temperature increases, creating visible distortion and potential material failure.
Siding installation problems frequently develop when homeowners rush seam placement without considering expansion requirements and joint positioning. Poor seam timing occurs when panels are joined during extreme temperatures, causing joints to separate or compress excessively as weather conditions change throughout the seasons.
Understanding how to install siding properly requires staggering seams between courses and maintaining manufacturer-specified overlap distances regardless of installation challenges. Siding installation best practices mandate checking overlap measurements frequently and ensuring seam placement provides adequate weather protection while accommodating natural material movement throughout temperature cycles.
Flashing and Moisture Management Oversights That Invite Water Damage
Inadequate flashing around windows, doors, and trim creates hidden pathways for water that often go undetected until significant damage occurs. Proper flashing directs water away from vulnerable openings, but common DIY siding installation mistakes include using insufficient flashing materials or installing them in incorrect sequences that trap moisture behind the siding system.
Drainage planes and vapor barriers require careful integration with the siding to prevent moisture accumulation within wall cavities. Many homeowners overlook these critical parts, focusing solely on the visible siding panels while neglecting the underlying moisture management systems. These siding installation errors create conditions where trapped moisture leads to rot, mold growth, and structural deterioration.
Siding installation best practices mandate installing flashing before siding panels and ensuring continuous moisture barriers extend behind all trim components. Proper moisture management prevents expensive water damage repairs and maintains the building envelope’s long-term performance throughout varying weather conditions.
Final Installation Details That Separate Professional Results from Amateur Work
Professional-quality siding installers distinguish themselves through meticulous attention to finishing details that many DIY projects neglect. Corner treatments, trim transitions, and final adjustments require patience and precision that separate exceptional results from adequate installations. These final steps significantly impact curb appeal and determine whether the project appears professionally completed or obviously amateur.
Rushed finishing work around corners and transitions creates the most visible signs of poor craftsmanship. Common DIY siding installation mistakes during the final phase include uneven corner trim, gaps around windows and doors, and misaligned panels at roof lines. These siding installation errors immediately identify the work as amateur despite otherwise acceptable installation techniques throughout the project.
Vinyl siding installation problems often become most apparent in the finishing details where precise measurements and careful cutting determine the final appearance. Understanding how to install siding properly requires recognizing that corner pieces, J-channel, and trim components demand the same attention to detail as the primary siding panels themselves.
Skipping quality checks and final adjustments compromises long-term performance and creates maintenance issues that develop over time. Siding installation best practices include systematic inspection of all fasteners, panel alignment, and drainage details before considering the project complete.
Avoid Common DIY Siding Installation Mistakes with SouthShore Roofing & Exteriors
Attempting DIY siding installation can lead to significant errors that not only compromise the structural integrity of your home but also its appearance. SouthShore Roofing & Exteriors specializes in professional siding installation that ensures your home is protected and beautifully enhanced.
Whether you’re facing issues with panel overlap, moisture management, or foundational alignment, our experts at SouthShore Roofing & Exteriors are here to help. Don’t let simple mistakes derail your home improvement efforts. Ensure your home’s siding is installed correctly and efficiently by calling us today at (813) 400-3329 for a consultation. Let us help you achieve the professional results that DIY projects often miss.