
 Instant Quote
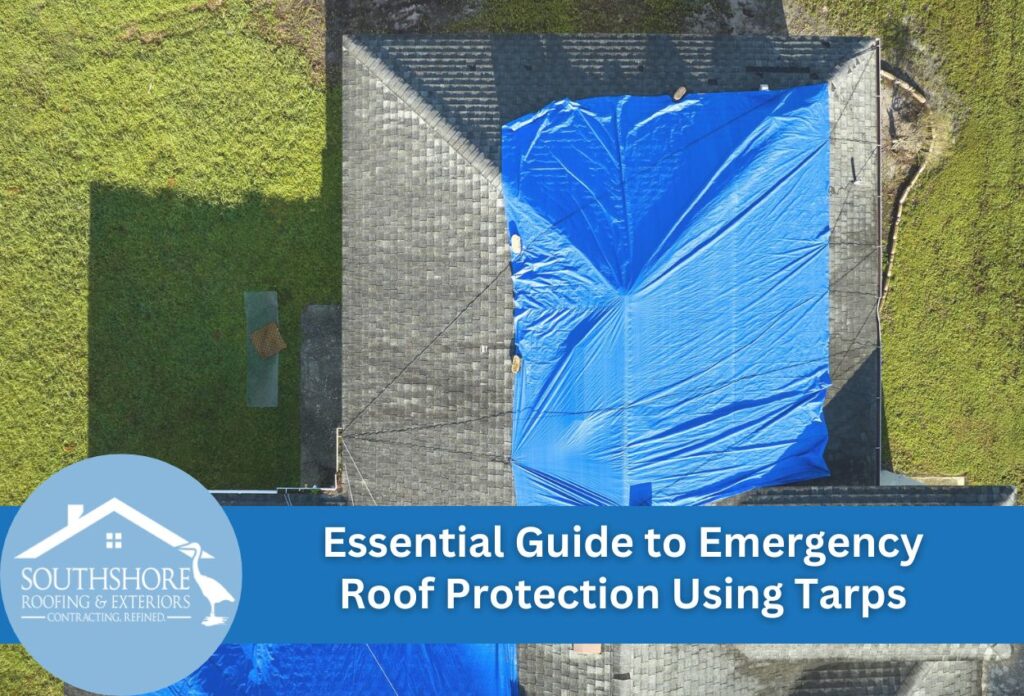
Storm damage can leave Tampa homeowners facing urgent roofing emergencies that require immediate attention. When high winds, heavy rain, or flying debris compromise a roof’s integrity, knowing how to secure a tarp to a roof becomes critical knowledge that can save thousands of dollars in interior damage. Emergency roof coverings provide temporary protection while permanent repairs are scheduled and completed.
Understanding roof tarp installation methods helps homeowners respond quickly during crisis situations. Water infiltration through damaged roofing materials can destroy ceilings, walls, flooring, and personal belongings within hours of a storm’s passage. Temporary roof repair solutions using tarps create an effective barrier against the elements when installed correctly.
Safety considerations play a vital role in determining whether to attempt emergency tarp installation independently or contact professional roofing contractors. Weather conditions, roof pitch, extent of damage, and personal experience all influence this decision. Weatherproof tarp securing requires specific materials, techniques, and precautions to ensure both effectiveness and installer safety. Quick action combined with proper installation methods prevents minor storm damage from requiring extensive restoration work.
Gathering the Right Materials and Tools for Secure Tarp Installation
Successful roof tarp installation requires specific materials designed to withstand extreme weather conditions. Heavy-duty polyethylene tarps that are a minimum 6-mil thick provide adequate protection against water penetration and wind uplift. Blue poly tarps offer standard protection, while reinforced vinyl tarps deliver superior durability for extended temporary roof repair solutions. Canvas tarps provide excellent tear resistance but may absorb moisture over time.
Fasteners include roofing nails, wood screws, and specialized tarp clips that distribute stress across larger surface areas. Lumber strips create secure anchor points for tarp edges, preventing wind from getting underneath the covering. Rope or bungee cords provide additional securing options, though they should supplement rather than replace primary fastening methods for effective tarp anchoring for roof protection.
Required tools include a hammer, drill with bits, utility knife, measuring tape, and safety equipment such as non-slip shoes and work gloves. A staple gun can assist with initial positioning, while a chalk line helps ensure straight installation lines. Quality materials can impact the reliability of emergency roof coverings, as substandard tarps may fail during subsequent storms. Selecting a weatherproof tarp appropriate for your local wind and precipitation patterns ensures reliable protection until permanent repairs can be done.
Safety First: Preparing Your Workspace Before Going on the Roof
Weather conditions directly impact the safety and effectiveness of the roof tarp installation. Wind speeds exceeding 25 mph make emergency roof covering techniques extremely dangerous and should postpone installation until conditions improve. Wet or icy surfaces create slip hazards that can result in serious injury. Temperature extremes affect material flexibility and worker dexterity, requiring additional precautions during tarp anchoring.
Secure ladder placement forms the foundation of safe roof access for temporary roof repair solutions. Position ladders at a 4:1 ratio, with the base 1 foot away from the structure for every 4 feet of ladder height. Ensure ladder feet rest on stable, level ground and extend at least 3 feet above the roofline. Secure the ladder top and bottom to prevent shifting during use. Having a second person stabilize the ladder provides additional security during weatherproof tarp installation.
Personal protective equipment requirements include non-slip footwear with good tread, work gloves for grip, and safety harnesses when working on steep slopes. Clearly communicating with helpers on the ground prevents misunderstandings that could lead to accidents. Keep cell phones accessible for emergency situations and inform neighbors of roof work activities. Never attempt to secure a tarp to a roof alone, as having assistance available ensures both safety and correct installation during critical emergency situations.
Measuring and Sizing Your Tarp for Maximum Coverage
Accurate measurement of damaged roof areas determines the success of your emergency roof covering. Begin by measuring the length and width of the damaged section, then add at least 4 feet of overlap on all sides to ensure water cannot seep beneath the tarp edges. This additional coverage allows the tarp to extend well beyond the damaged area and reach solid roofing materials for secure attachment points.
Roof pitch affects tarp size calculations significantly when learning how to secure a tarp to a roof effectively. Steeper roofs require additional material to account for the increased surface distance from ridge to eave. Calculate the actual roof surface distance rather than horizontal measurements to avoid purchasing undersized tarps that provide inadequate protection. Consider potential expansion of damage over time, as storm-weakened materials may fail further during subsequent weather.
Multiple smaller tarps often work better than one oversized covering for complex roof shapes or extensive damage areas. Overlapping tarp sections by at least 12 inches creates redundant weatherproof tarp securing zones that prevent water infiltration at seams. Mark measurement points with chalk before cutting or positioning to ensure accurate placement. Correct sizing eliminates the need for dangerous adjustments once temporary roof repair solutions are partially installed, reducing safety risks and improving tarp installation quality.
Strategic Tarp Positioning for Optimal Water Management
Water runoff management creates the basis for proper tarp positioning. Position the tarp so water flows toward existing gutters and drainage systems rather than creating new runoff patterns that could damage other areas of the structure. The highest point of the tarp should align with the roof ridge or slightly below to prevent water from pooling behind the covering during heavy rainfall.
Tarp orientation prevents water accumulation that can stress temporary roof repair solutions and lead to failure. Create slight slopes by positioning anchor points at different heights, encouraging water movement toward designated drainage areas. Avoid creating pockets or depressions where water can collect, as accumulated moisture adds significant weight that may cause the covering to sag or tear during extended storms.
Strategic overlap enhances the effectiveness of the weatherproof tarp by channeling water away from vulnerable seams. Upper tarp sections should overlap lower sections like roof shingles, preventing water from flowing underneath the covering. Secure overlap areas with additional fasteners spaced closer together than primary attachment points. Correctly positioning emergency roof coverings requires understanding how water moves across roof surfaces during different weather conditions, ensuring the temporary protection functions as intended until professional repairs restore the roof.
Professional Anchoring Methods That Withstand Florida’s Weather
Professional-grade fastening techniques require specific hardware designed to penetrate roof decking without creating additional water entry points. Galvanized screws with neoprene washers provide superior holding power compared to standard nails while forming watertight seals around penetration points. The washer creates a compression seal that prevents water infiltration while distributing stress across a broader surface area.
Choosing the right drill bit prevents splitting or cracking of the roof materials during emergency roof covering installation. Pre-drilling pilot holes slightly smaller than screw diameter ensures clean penetration without compromising structural integrity. Drive screws until washers compress against the tarp and roofing material without over-tightening, which can damage the waterproof seal or tear the covering material.
Strategic placement of anchor points maximizes wind resistance during the severe weather events common to the region. Install fasteners along tarp perimeters, with additional reinforcement at corners where wind stress concentrates. Ridge areas require fasteners spaced closer together due to higher wind exposure and increased uplift forces. Peak sections may need double-row fastening patterns to prevent wind from separating the covering from the roof surface. Proper anchor point distribution transforms temporary roof repair solutions into reliable protection that is capable of withstanding sustained winds and driving rain until permanent repairs restore structural integrity.
Weatherproofing Your Installation Against Heavy Rain and Wind
Effective edge sealing is often the difference between successful temporary roof repair solutions and failed installations that allow water infiltration. Proper overlap techniques require the tarp to extend at least 4 feet beyond damaged areas onto solid roofing materials where secure attachment can be achieved. The upper edges should overlap the lower sections by a minimum of 12 inches, mimicking the layered protection of traditional roofing systems.
Water infiltration prevention depends on creating continuous seal lines along all tarp edges using wooden battens or furring strips. These strips sandwich the tarp material against the roof surface, distributing fastener stress while creating compression seals that prevent wind-driven rain from penetrating beneath the covering. Apply roofing cement or sealant tape along batten edges before installation to improve waterproofing effectiveness.
High-wind reinforcement strategies are essential for weatherproof tarps in areas prone to severe storms. Install additional anchor points along exposed edges where wind can catch the material. Secure loose tarp sections using rope or bungee cords tied to stable anchor points, preventing the material from billowing and creating lift forces that could tear the entire installation. Cross-bracing techniques using rope create a web pattern across large tarp surfaces, distributing wind loads and preventing catastrophic failure. These reinforcement methods transform basic roof tarp installation into a robust emergency roof covering capable of protecting structures for extended periods before permanent repairs can be completed.
Maintaining Your Temporary Roof Solution Until Professional Repairs
Temporary roof coverings require consistent monitoring to ensure continued protection. Weekly visual inspections help identify potential failure points before they compromise the installation’s integrity. Check for loose fasteners, torn sections, or areas where the tarp has shifted from its original position. Wind-driven debris can puncture or tear covering materials, while temperature fluctuations cause expansion and contraction that may loosen anchor points over time.
Warning signs requiring immediate attention include sagging areas that collect water, exposed fasteners where washers have deteriorated, and tarp edges that have pulled away from anchor strips. Flapping or billowing sections indicate insufficient securing and create stress points that lead to catastrophic failure during storms. Document any changes with photographs to track deterioration patterns and provide evidence for insurance claim documentation.
Preparing for a professional contractor’s arrival involves removing personal belongings from affected interior areas and ensuring clear access to the roof. Compile maintenance records, inspection photographs, and original installation documentation to demonstrate temporary protection efforts. Insurance adjusters often require detailed records showing homeowner mitigation efforts to prevent additional damage. Professional roofing contractors can assess whether emergency roof covering techniques provided adequate protection and determine if any secondary damage occurred during the temporary installation. Maintaining the weatherproof tarp demonstrates responsible property ownership while preserving insurance coverage validity until permanent restoration work begins.
Secure Your Tampa Home with Professional Tarp Installation
When facing severe damage, securing a tarp to your roof promptly is crucial to protecting your property. SouthShore Roofing & Exteriors specializes in emergency roof tarp installation, ensuring your home is safeguarded against further damage. We understand the urgency of storm damage and provide quick, reliable service throughout the Tampa area.
Attempting DIY tarp installation can be risky and ineffective. Don’t compromise on safety or quality. Let our team of experts handle your emergency roofing needs with precision and speed. With the right materials and expertise, we ensure your tarp is anchored securely, capable of withstanding Florida’s harsh weather.
Call SouthShore Roofing & Exteriors at (813) 400-3329 for immediate assistance and make sure your home remains safe and dry.
Related Articles
-
 May 2, 2025Understanding the Role of a Roof Tarp in Emergency SituationsCurious how long a tarp protects your roof? Get expert tips now!
 -
 May 10, 2025Can You Tarp a Flat Roof? Guide to Emergency Roof ProtectionWondering if you can tarp a flat roof? Discover effective tarp methods to protect your Tampa, FL property.
 -
 April 12, 2025Common Mistakes to Avoid When Tarping Your RoofHaving trouble with roof tarping? Discover essential tips on selecting, preparing, and securing tarps while avoiding common mistakes. Read more now!
Protect Your Home with Expert Roofing
Don’t wait for leaks or storm damage to cause costly repairs. Our experienced roofing team provides fast, reliable service, high-quality materials, and lasting results. Ensure your home stays safe, secure, and looking great—contact us today for a free estimate.


