
 Instant Quote
At SouthShore Roofing & Exteriors, we understand the importance of using the right roofing nails for your roofing projects. As unsung heroes in the roofing industry, roofing nails play a crucial role in ensuring that your new roof is securely fastened and can withstand various weather conditions.
In this comprehensive guide, we will share with you 7 essential things to know about roofing nails before you make a purchase. So, let’s dive right in!
1. Types of Roofing Nails
There are several types of roof nails used in different roofing applications. It’s essential to choose the right type of roofing nail for your roofing project to ensure a secure and long-lasting installation. Here are some common types of roofing nails you may come across:
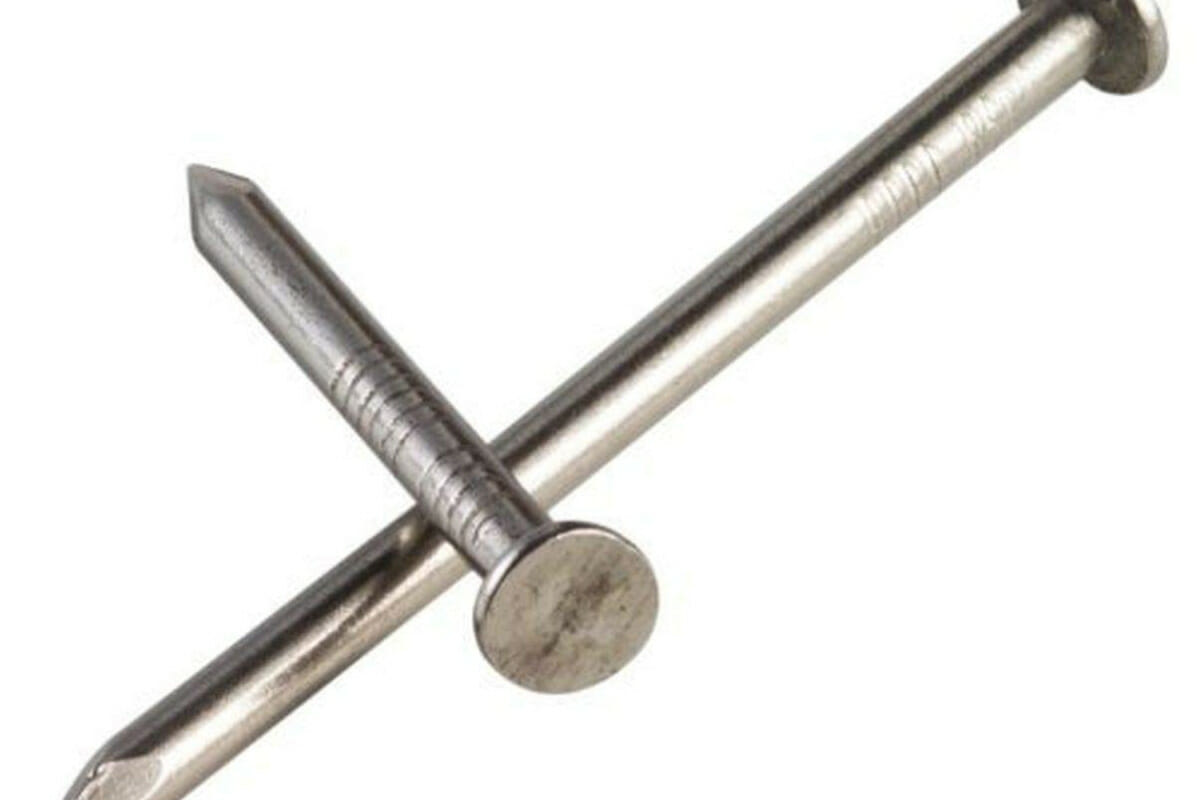
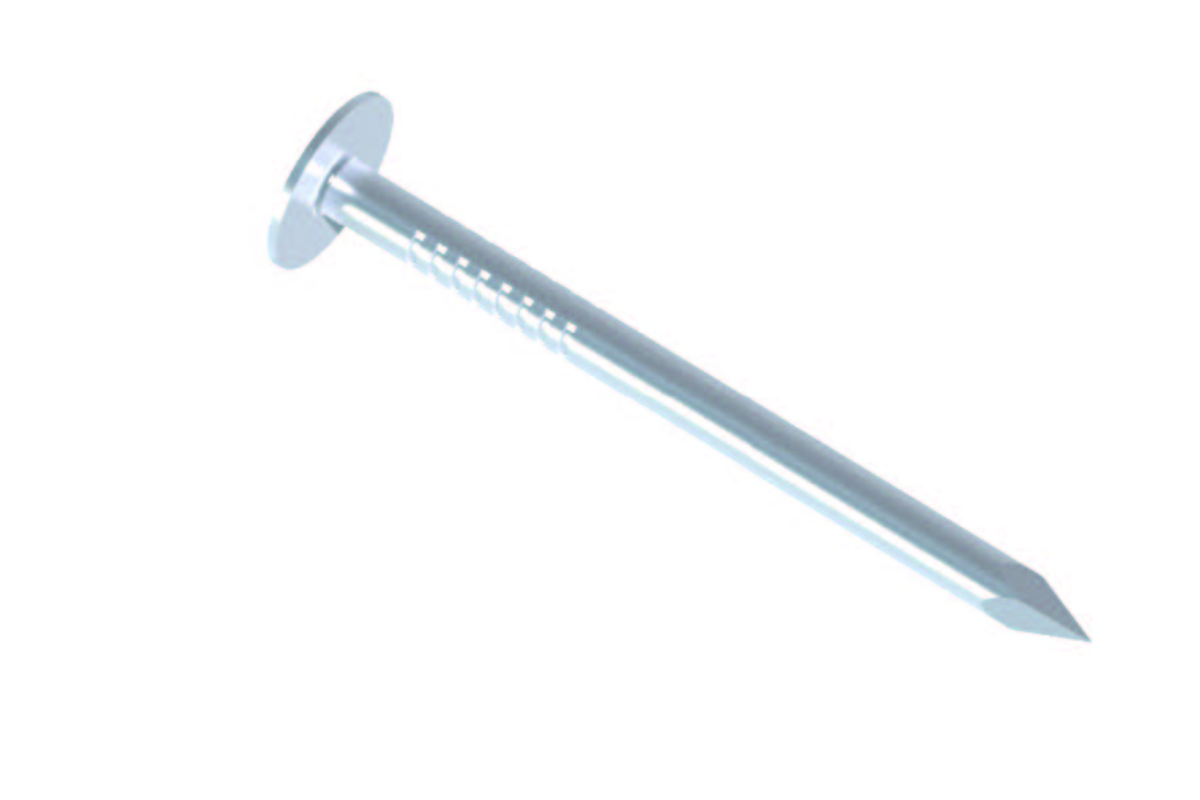
a) Smooth Shank Nails
These are the most common and affordable types of nails for roofing. As their name suggests, they have a smooth body and are easy to drive into various roofing materials. However, they may not offer the best grip in areas with high winds or heavy loads.
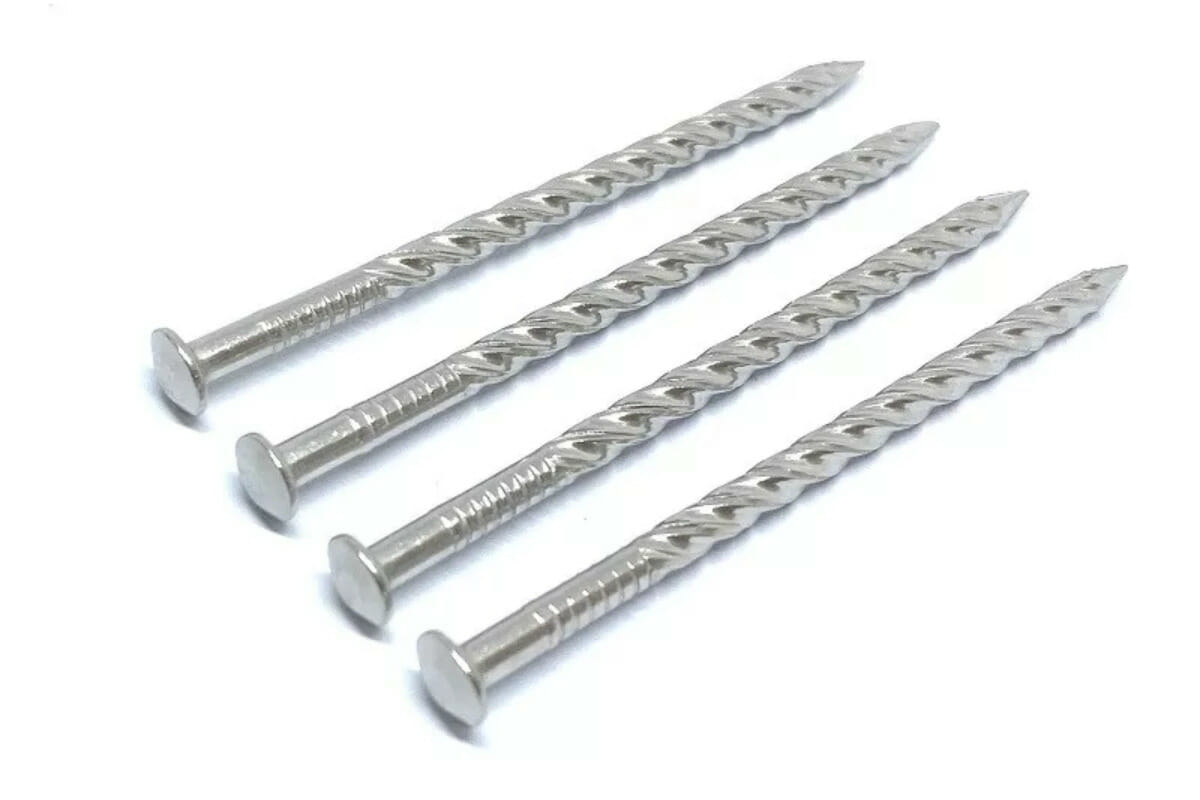
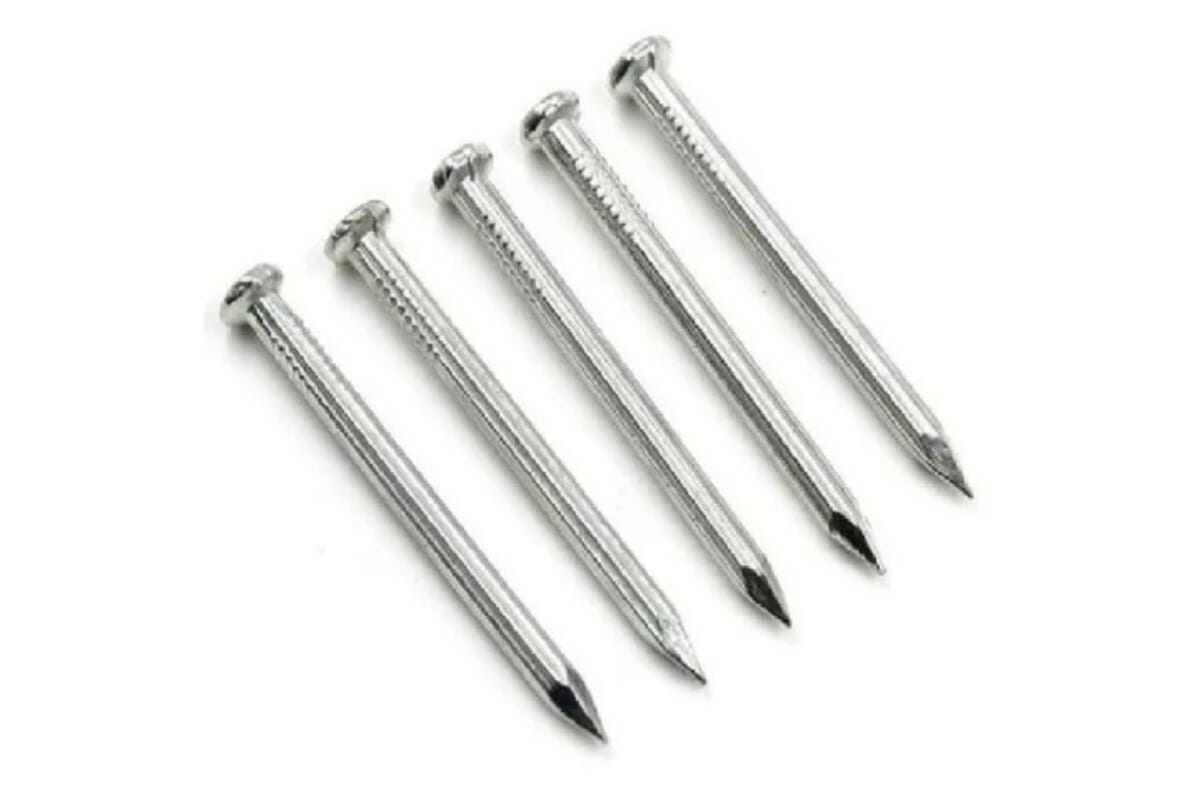
b) Ring Shank Nails
Ring shank nails, also known as barbed shank nails, provide a better grip due to the parallel rings or “ribs” along their shanks. These nails are ideal for softwood decking and are particularly suitable for high-wind areas.
c) Screw Shank Nails
Screw shank nails, or spiral nails, feature a twisted shank with a flat head and diamond tip point. These nails are great for securing hardwood and pallets, ensuring a strong hold and reducing the risk of splitting the wood.
2. Materials of Roofing Nails
Roofing nails are made from various materials, each offering unique properties and benefits. Here are some common materials used for nails in roofing:
a) Aluminum Nails
Aluminum nails are lightweight and corrosion-resistant, making them suitable for metal roofs and asphalt shingle roofs. However, they are typically not recommended for coastal areas due to their susceptibility to salt and chemical damage.
b) Stainless Steel Nails
Stainless steel nails are ideal for damp or humid environments, such as coastal areas of Florida, thanks to their rust and corrosion resistance. They are also suitable for fastening tiles and slate roofs.
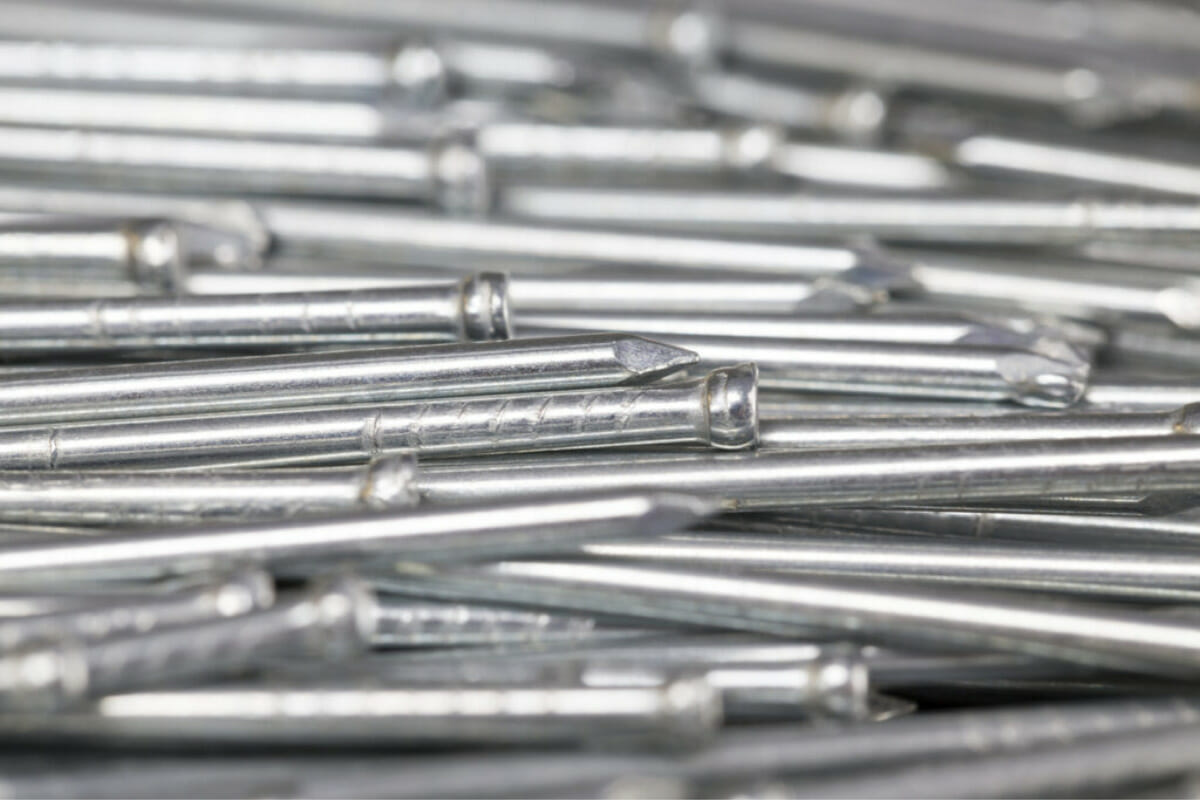
c) Galvanized Steel Nails
Galvanized steel nails are coated with a layer of zinc, providing protection against rust and corrosion. They are an affordable and popular choice for securing asphalt shingles.
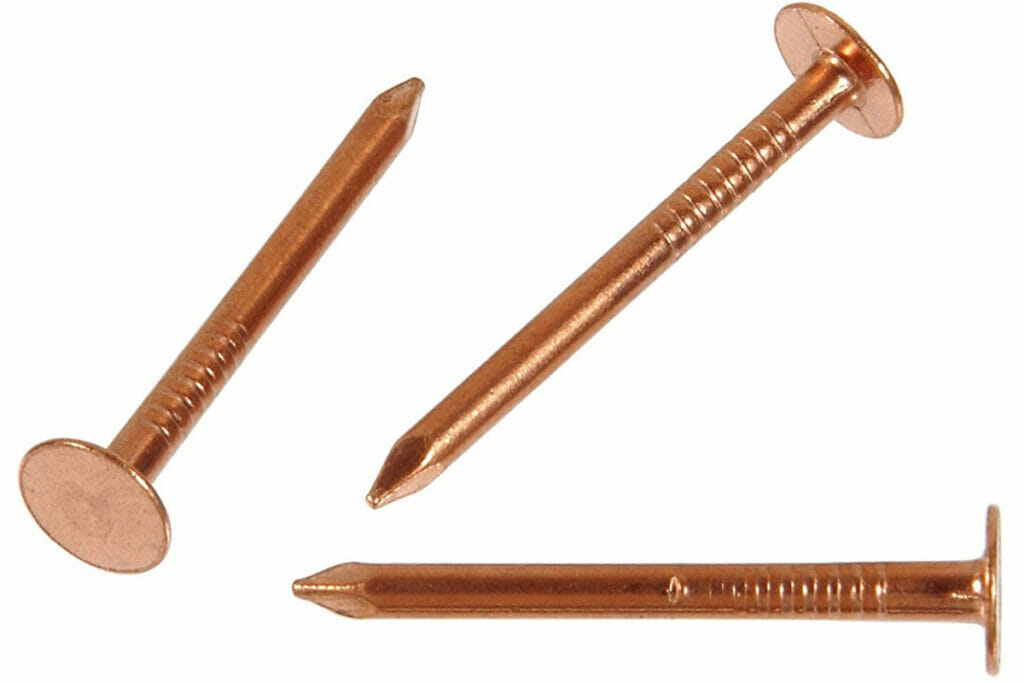
d) Copper Nails
Copper nails naturally resist rust and corrosion, making them ideal for roofs with copper accents. They are often used for installing slate tile roofs and copper sheet metal roofing systems.
3. Size of Roofing Nails
The size of the roofing nails you choose to install will depend on the thickness of your roofing material. Roofing nails come in various lengths, ranging from one to two inches. When selecting the right roofing nail length for your project, consider the thickness of your sheathing, shingles, and the required nail penetration.
4. Shank Diameter and Head Diameter
According to the International Building Code (IBC), fasteners for asphalt roofing shingles must have a minimum 12-gauge shank and a minimum head diameter of 9.5mm. These specifications ensure a smooth, secure and long-lasting installation of your roofing materials.
5. Choosing the Best Roof Nails for Your Project
When selecting the best roof nails for your project, consider the type of roof, nail material, size, and brand. Keep in mind that different types of roofs and materials require different nails. Here are two recommended nails for various roofing projects:
a) Ring Shank Nails
Ring shank nails offer excellent holding power and are ideal for fastening tiles of all types and in high-wind areas.
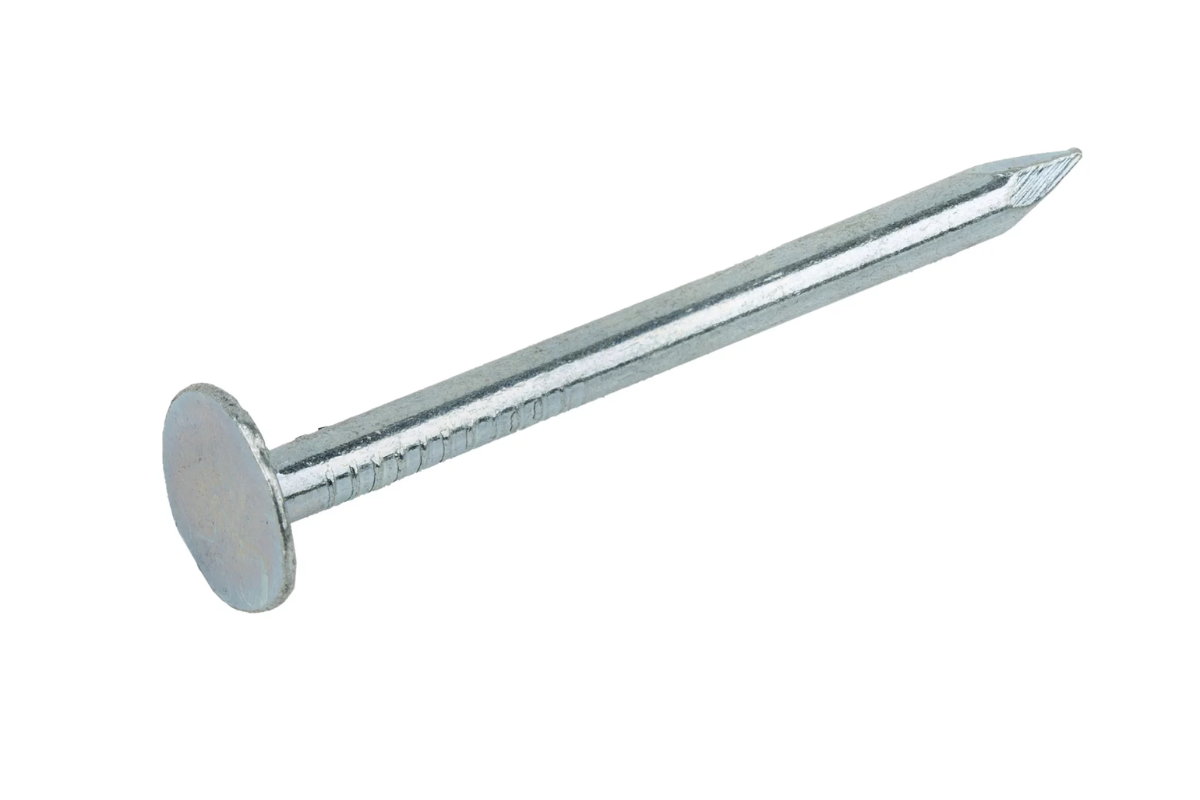
b) Square Cap Nails
Square cap nails are perfect for fastening felt underlayment material and securing lighter roofing materials such as vapor barriers and base sheets.
6. Importance of Roofing Nails in Roofing Projects
Roofing nails play a critical role in ensuring the stability and longevity of your roof. They provide added strength to both the outer roof (shingles, metal sheeting, etc.) and the inner roof (trusses & support structures). Using the right roofing nail materials can prevent roof damage, leaks, and blow-offs during stormy or windy weather.
7. Your Trusted Roofing Experts In Tampa, FL: SouthShore Roofing & Exteriors
At SouthShore Roofing & Exteriors, we are committed to providing top-quality roofing services and using the best roofing nails for your specific needs. Our team of experienced professionals is ready to help you with your roofing projects, including roof repair, roof installation, and roof replacement. Contact us today at (813) 400-3329 for a free estimate and let us guide you toward the perfect choice of roofing nails for your project!
FAQS
- How should roofing nails be spaced apart?
Roofing nails should be spaced around 6 to 8 inches apart, center to center. This spacing is important because it ensures a secure attachment of the roofing material to the roof, preventing any risk of lifting or becoming loose.
- What are some useful tips for using roofing nails?
To make the most of your roofing nails, consider these helpful tips. Firstly, make sure to use a hammer that matches the size of the nails you are using. This ensures proper driving and minimizes the chance of damaging the roofing material. It’s also a good idea to check the sharpness of the nails before starting. Dull nails can be tricky to drive in and may cause the material to split or crack. As you drive the nails, aim for a straight and flush application with the roofing material. Angled or protruding nails can create an uneven surface, compromising the overall integrity of the roof. Additionally, avoid over-driving the nails, as this can weaken the material or create holes that might allow water to seep through. Lastly, remember to wear safety glasses and gloves for your protection while working with roofing nails.
- What are some common issues with roofing nails?
Several common problems can arise with roofing nails. Nails that are not driven straight into the roofing material can cause it to buckle or warp, affecting both the appearance and functionality of the roof. Over-driving the nails can lead to holes or cracks in the roofing material, resulting in leaks and requiring subsequent repairs. Another problem is nails that rust over time, causing the roofing material to become loose. Rust weakens the grip of the nails, potentially leading to shifting or detachment of the material.
- How can I prevent problems with roofing nails?
To prevent problems associated with roofing nails, it’s important to follow these preventive measures. Firstly, make sure to use the appropriate size and type of nails for your specific roofing job. Different roofing materials may require different nails to ensure a proper and durable attachment. As you drive the nails, maintain a straight and flush application with the roofing material, ensuring a consistent and even installation. Avoid over-driving the nails by monitoring their depth, making sure they are secure without being excessively driven into the material. Additionally, considering the use of rust-resistant nails can help maintain the long-term integrity of your roof, preventing any loosening of the roofing material over time.
Related Articles
-
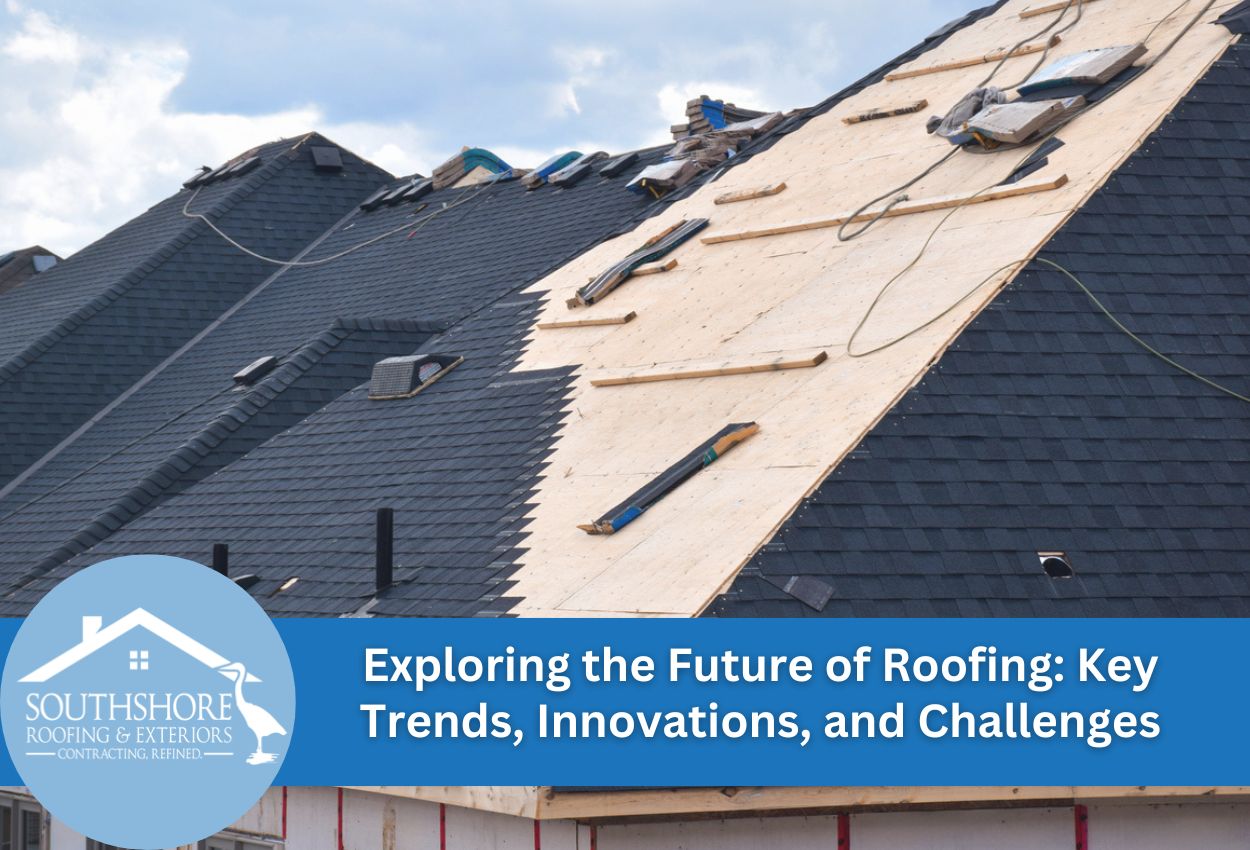 October 25, 2024Exploring the Future of Roofing: Key Trends, Innovations, and ChallengesThe roofing industry is evolving rapidly to meet the demands of homeowners, builders, and architects. With a focus on sustainability, energy efficiency, and technological advancements, roofing industry trends are set to transform the way we design, construct, and maintain our roofs. In this comprehensive overview, we delve into the latest developments in roofing materials, the […]
 -
 December 28, 20247 Things You Wish You Knew About DIY Roof ReplacementToying with the idea of a DIY roof replacement? Don’t worry; it’s not as daunting as it sounds initially. Many homeowners do it to save money and feel good about learning new skills. DIY roof replacement can be cheaper than hiring a professional, and you get to work on your own schedule. Plus, you’ll know […]
 -
 October 15, 2024Comparing 31 Roof Types: Styles, Climate Suitability, Materials and CostsHave you ever found yourself gazing at different roofs and asking, ‘What kind of roof is that? Could that work for my home?’ Picking the perfect roof type involves more than just choosing the best roofing material. You need to consider style, climate suitability, and cost. Each roof type comes with its own unique pros […]
Protect Your Home with Expert Roofing
Don’t wait for leaks or storm damage to cause costly repairs. Our experienced roofing team provides fast, reliable service, high-quality materials, and lasting results. Ensure your home stays safe, secure, and looking great—contact us today for a free estimate.


