
 Instant Quote

Dormer windows can transform both the interior and exterior of Tampa homes. These windows extend outward from a sloped roof, creating additional headroom, space, and natural light in what might otherwise be cramped attic areas. For Tampa homeowners dealing with Florida’s intense sunshine and occasional severe weather, properly installed dormer windows offer significant benefits beyond aesthetic appeal.
Installing a dormer window requires careful planning, especially in Tampa, where hurricane-resistant construction is essential. The project involves structural modifications to your roof, including framing techniques that maintain your home’s integrity while creating the new space. Different dormer styles, including gable, shed, and hip dormers, offer varying benefits depending on your home’s architecture and your specific needs.
Before starting a dormer window installation, Tampa homeowners must consider local building codes, permit requirements, and whether the project is suitable for DIY or requires professional roofing expertise. The right approach depends on your construction experience, tools, and the complexity of your specific roof configuration. When properly executed, adding a dormer window not only enhances your living space but also improves ventilation and can boost your home’s value in the competitive Tampa housing market.
Assessing Your Roof and Beginning Your Dormer Project
Before you start cutting into your roof for a dormer window installation, an assessment and planning are critical, especially in Tampa where building standards must account for hurricane conditions. Begin by examining your roof structure to determine if it can support a dormer. Look for load-bearing walls that will provide essential support, and verify that your existing roof trusses or rafters are strong enough for modification.
Tampa building codes have specific requirements for structural modifications, particularly regarding wind resistance. Most dormer projects require professional engineering approval and permits from the city. Consider scheduling an inspection with a licensed Tampa roofing contractor who can evaluate your roof’s condition and confirm its suitability for a dormer window.
Once your roof passes the assessment, create a detailed project plan. Take precise measurements of your roof pitch, the planned dormer size, and the window opening. Your materials list should include hurricane-rated windows appropriate for Florida’s climate, water-resistant sheathing, and flashing to prevent leaks during heavy storms.
Plan your timeline carefully around Florida’s weather patterns, avoiding the rainy season when possible. The typical dormer window framing techniques may need adaptation for Tampa’s climate conditions. Remember that ventilation is essential in our humid environment — your dormer design should incorporate adequate airflow to prevent moisture buildup in your attic space.
What Tools and Materials You Need for Dormer Window Installation
Successful dormer window installation requires having the right tools and materials on hand before beginning your project. For Tampa homeowners, the proper equipment ensures you can complete the job efficiently while meeting local building requirements for hurricane resistance and water protection.
The specialized tools needed include:
- Circular saw
- Reciprocating saw
- Framing nailer
- Roofing nailer
- Hammer
- Level
- Tape measure
- Chalk line
- Framing square
- Utility knife
- Ladders or scaffolding for safe roof access
If you don’t want to purchase specialized equipment, many Tampa hardware stores offer rental options for tools like pneumatic nailers or power saws, making DIY dormer projects more accessible.
For materials, you’ll need:
- Pressure-treated lumber for the base framing
- Exterior grade plywood for sheathing
- Hurricane-rated windows specifically designed for Florida’s weather
- Ice and water shield membrane
- Flashing (step, counter, and drip edge varieties)
- Roofing materials that match your existing roof
- Additional waterproofing elements
In Tampa’s climate, additional waterproofing considerations are essential. Include high-quality silicone caulk, roof cement, and underlayment to protect against our frequent heavy rains. Your dormer window installation will also require proper ventilation components to prevent moisture buildup in our humid environment, such as ridge vents integrated into your dormer design.
Step-by-Step Framing Techniques for Your Dormer
Creating a frame for your dormer window is critical to ensuring structural integrity, especially in Tampa, where hurricane resistance is a top priority. The framing process begins with carefully cutting the roof opening, which requires very close attention to detail to avoid compromising your roof’s structure.
Start by marking the opening from inside your attic, drilling pilot holes at the corners, and cutting through the sheathing with a reciprocating saw. Always cut between existing rafters, never through them. For hurricane resistance, install temporary bracing before removing any structural elements. Tampa homes may need additional reinforcement — double up headers and trimmers around the opening using hurricane ties and heavy-duty fasteners rated for high-wind areas.
When building the dormer frame, construct the side walls first on the attic floor, ensuring they’re square and correctly sized for your window. Raise these walls into position, secure them to the roof structure, then frame the front wall to connect them. The roof of your dormer requires precise angle cuts to match both your existing roof pitch and the dormer design. Use pressure-treated lumber for the bottom plates that contact the existing roof to prevent moisture damage in Florida’s humid climate.
Proper alignment is crucial — check measurements frequently and use levels to ensure your dormer is plumb and square. Remember that the framing provides the foundation for effective water management, which is essential for protecting Tampa homes during our intense rainy seasons.
Weatherproofing and Installing Your Dormer Window
In Tampa’s climate, weatherproofing is critical when installing dormer windows. Florida’s combination of heavy rainfall, high humidity, and potential for tropical storms means meticulous attention must be paid to waterproofing details. Begin by applying a high-quality water and ice shield membrane around the entire dormer perimeter, extending at least 24 inches up from the roof line to prevent water intrusion during heavy downpours.
Install flashing in layers, starting with base flashing along the bottom of the dormer, followed by step flashing at the sides, integrating each piece with your roofing materials. For maximum protection, apply a bead of roofing cement beneath each flashing piece. Counter flashing should then be installed over the step flashing, creating a watertight seal that directs water away from the window opening.
When mounting the actual window, center it carefully in the prepared opening and check for level and plumb positioning before securing. Use galvanized or stainless steel fasteners resistant to Florida’s salty air. Secure the window through the nailing fins following the manufacturer’s specifications, typically every 12 to 16 inches. Apply a continuous bead of exterior-grade silicone caulk around the entire window perimeter.
For hurricane protection, consider impact-resistant glass options that meet Miami-Dade County standards. After installation, test your weatherproofing with a garden hose, spraying water above the dormer and watching for any leaks. This simple test can prevent major water damage during Tampa’s intense summer storms.
Finishing Your Dormer: Roofing, Siding, and Interior Work
Once your dormer window is securely installed and weatherproofed, it’s time to complete the finishing work that will integrate it seamlessly with your home. For Tampa homeowners, this final phase is crucial to ensure your dormer can withstand Florida’s climate while enhancing your home’s appearance and functionality.
Begin with the roofing integration, carefully matching your existing roof materials. Remove enough of the old shingles around the dormer area to install underlayment and flashing. When applying new shingles, start at the bottom of the dormer and work upward, weaving each course into the existing roof. This technique creates a waterproof seal that’s essential during Tampa’s heavy rainstorms. Finally, install ridge caps where the dormer roof meets the main roof.
For exterior siding, select materials that complement your home while offering superior moisture resistance. Fiber-cement siding performs exceptionally well in Florida’s humid climate. Ensure proper spacing between siding panels to allow for expansion in our hot weather. Install trim around windows and corners for a polished look that also provides additional weather protection.
Interior finishing begins with insulation — crucial for energy efficiency in Tampa’s climate. Use high-R-value insulation in all dormer walls and ceiling spaces. Install moisture-resistant drywall, paying special attention to seams and corners. Complete the space with trim work that matches your home’s interior style, transforming your dormer into a beautiful, functional living area that adds value to your Tampa home.
Maintenance and Troubleshooting Your New Dormer Window
Regular maintenance of your dormer window is essential in Tampa’s challenging climate. During hurricane season, inspect the window and surrounding area monthly for signs of water intrusion. Look for water stains on interior walls, deteriorating caulk, or damaged flashing. Clean gutters regularly to prevent water backup that could compromise your dormer.
In Florida’s humidity, mold and mildew can develop quickly around window frames. Wipe down interior surfaces with a mild cleaning solution a few times a year and make sure there is ventilation around the window to reduce moisture buildup. Examine the exterior during dry weather for cracked caulking, damaged shingles, or separation between the dormer and main roof structure.
Common post-installation issues include minor settling that may cause the window to stick or develop gaps. If your window becomes difficult to operate, check for frame warping caused by Tampa’s heat. Minor adjustments to hinges or weatherstripping can often resolve these problems. Persistent leaks around your dormer window might indicate flashing failure, which requires prompt attention before the next heavy rainfall.
While many maintenance tasks are DIY-friendly, never be afraid to call for professional help. Contact a Tampa roofing contractor if you notice structural shifting, major leaks during storms, or visible sagging in your dormer framing. Professional roofers have the specialized equipment and experience to address complex dormer window problems before they lead to expensive interior damage.
Trust SouthShore Roofing & Exteriors for Expert Dormer Window Installation
A dormer window installation project can transform your Tampa home by adding more space, light, and ventilation, perfect for Florida’s climate. But such a project requires precision and expertise, especially when considering the structural stability that dormers need to withstand hurricane conditions.
Don’t navigate this complex process alone! Call SouthShore Roofing & Exteriors at (813) 400-3329. Our team of experienced professionals is ready to ensure your dormer window not only looks great but is also built to last. Whether it’s selecting the right materials or handling the intricate installation process, we have you covered. Don’t wait, enhance your home today!
Related Articles
-
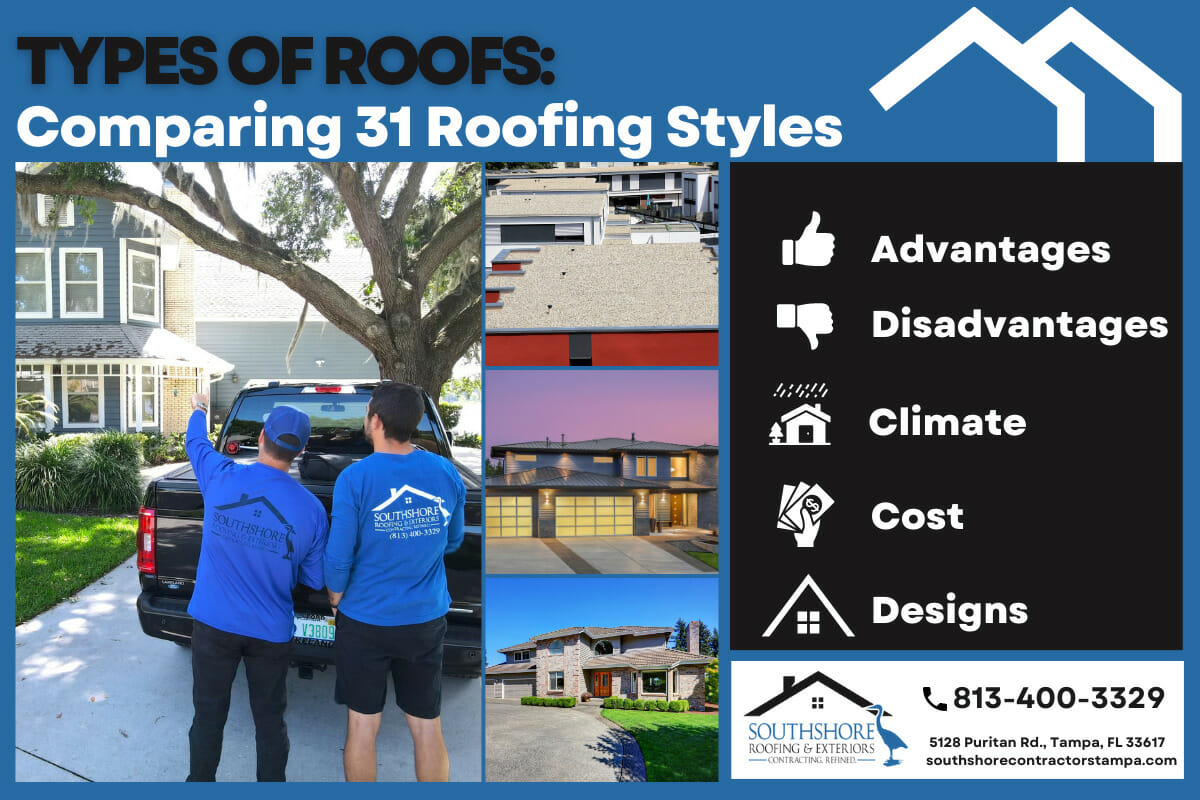 October 15, 2024Comparing 31 Roof Types: Styles, Climate Suitability, Materials and CostsHave you ever found yourself gazing at different roofs and asking, ‘What kind of roof is that? Could that work for my home?’ Picking the perfect roof type involves more than just choosing the best roofing material. You need to consider style, climate suitability, and cost. Each roof type comes with its own unique pros […]
 -
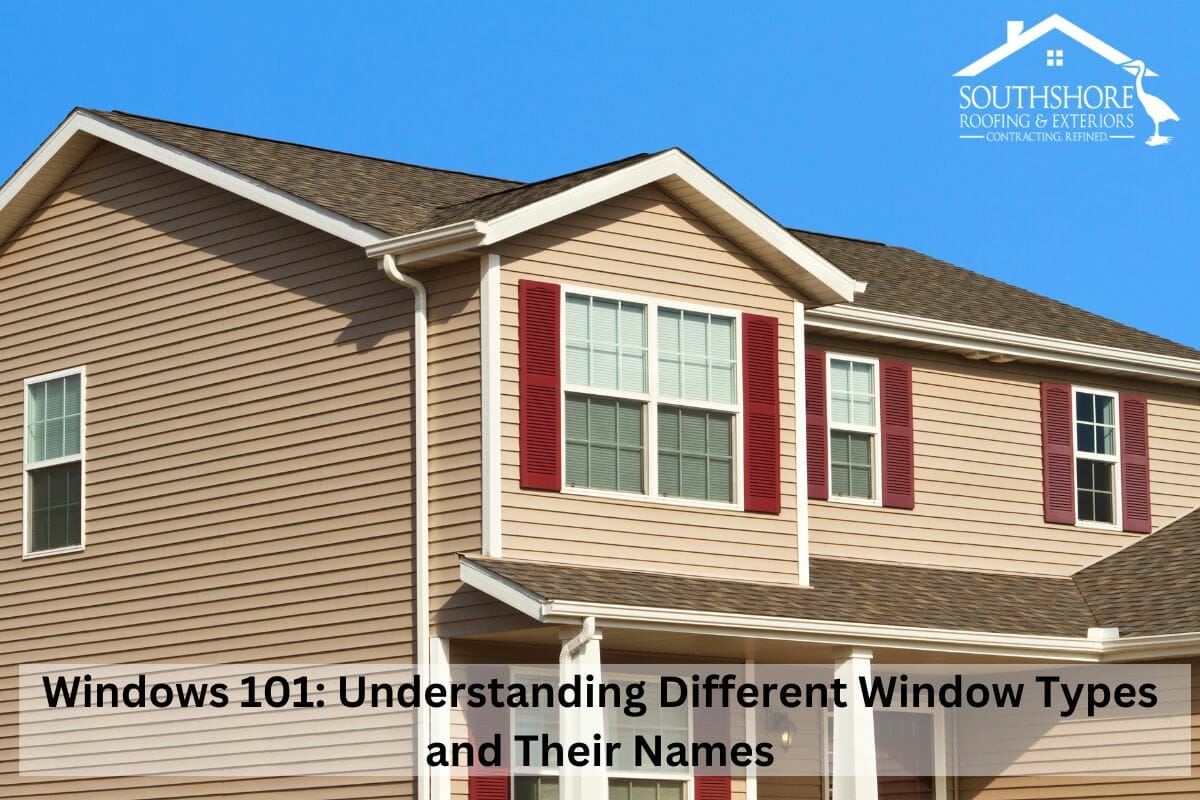 October 8, 2024Windows 101: Understanding Different Window Types and Their NamesWindows are an essential part of your home exterior. From providing natural light and ventilation to offering a view of the outside world from your home, windows are responsible for a lot. If you’re looking to install high-quality windows in your home and reap all their benefits, be aware that the window replacement process may […]
 -
 August 3, 2024Top Attic Ventilation Misconceptions in Florida, and How To Correct ThemThe hot and humid climate of Florida can be tough on attics, making proper ventilation a crucial aspect of home maintenance. However, despite its importance, attic ventilation is often misunderstood, leading to costly mistakes and uncomfortable living conditions. In this blog post, we will debunk the top attic ventilation misconceptions in Florida and provide practical […]
Protect Your Home with Expert Roofing
Don’t wait for leaks or storm damage to cause costly repairs. Our experienced roofing team provides fast, reliable service, high-quality materials, and lasting results. Ensure your home stays safe, secure, and looking great—contact us today for a free estimate.


