
 Instant Quote
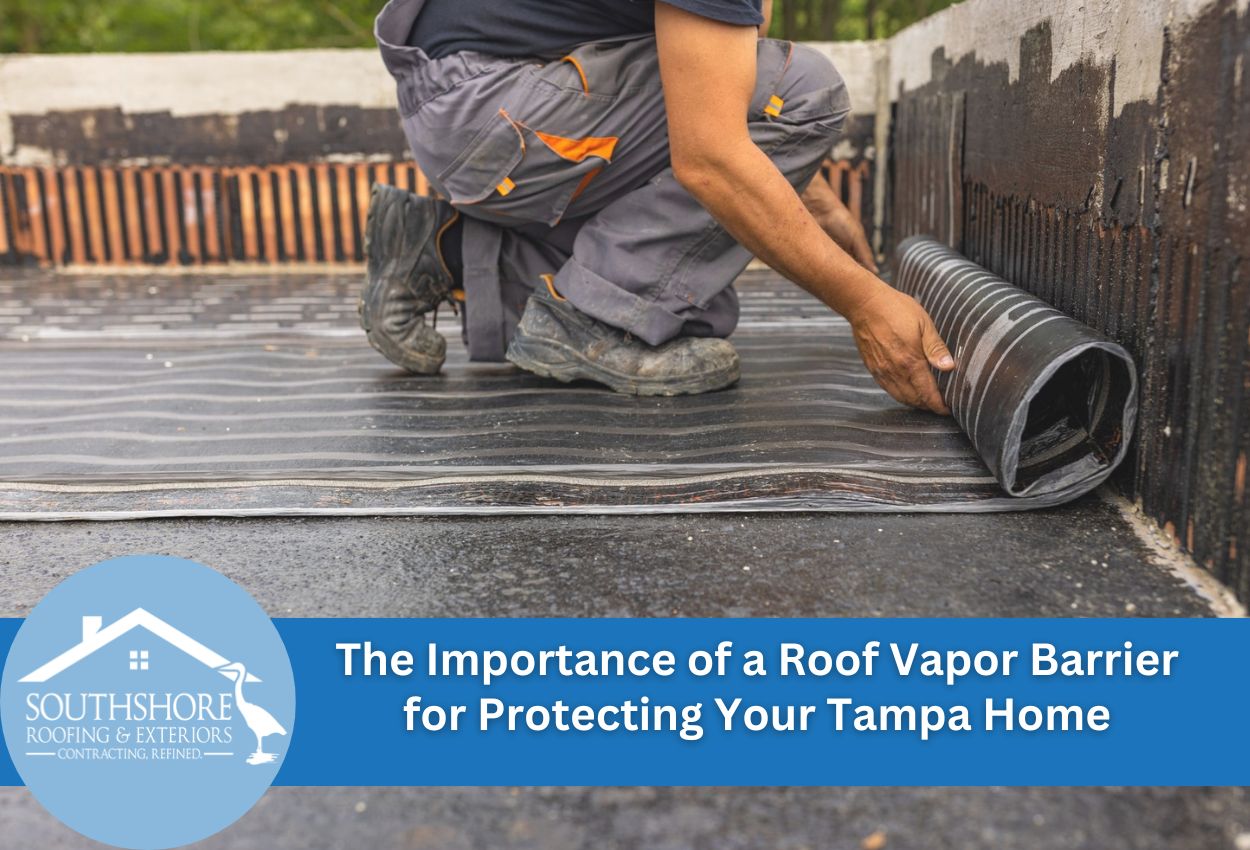
A Guide to Roof Vapor Barrier Installation for Tampa Homeowners

Roof vapor barrier installation is an important defense system against leaks that can devastate homes in Florida’s humid climate. These specialized barriers control water vapor movement within roof assemblies, preventing condensation that leads to mold growth, wood rot, and structural damage. Tampa’s year-round humidity creates unique challenges for roofing systems, making proper vapor barrier placement essential for maintaining the structural integrity of your roof and the quality of indoor air.
Understanding roof vapor barrier installation requires knowledge of how vapor barriers function within the broader roofing system. These materials create a controlled environment that prevents warm, moist air from reaching cooler surfaces where condensation occurs. The installation process involves careful selection of vapor barrier materials for roofing applications, precise attic placement, and proper integration with existing roof insulation vapor barrier systems.
Florida homeowners face distinct moisture management challenges due to the state’s subtropical climate. Preventing roof condensation becomes particularly important during fall and winter when conditioned air and outdoor air meet, creating temperature differentials between the interior and exterior environments. Properly installed vapor barriers work continuously to manage moisture levels, protecting the structural components of the roof.
Understanding Vapor Barrier Materials and Their Applications
Selecting appropriate vapor barrier materials for roofing applications requires understanding the distinct characteristics of each available option. Polyethylene sheeting represents the most common choice for roof vapor barrier installation, offering excellent moisture resistance at an economical price point. This plastic film material comes in various thicknesses, with 6-mil sheeting providing adequate protection for most residential applications. Polyethylene barriers excel in attic vapor barrier placement due to their flexibility and ease of installation around structural components.
Foil-backed materials combine vapor control with radiant heat reflection, making them particularly effective for roof insulation vapor barrier applications. These products feature aluminum foil laminated to kraft paper or plastic backs, which addresses both moisture management and thermal performance. The reflective surface helps reduce cooling costs by reflecting radiant heat away from living spaces.
Spray-applied barriers offer superior coverage for complex roof shapes and hard-to-reach areas where sheet materials are challenging to install. These liquid-applied products cure to form seamless membranes that eliminate the gaps and overlaps common with traditional sheet materials. Professional application ensures proper coverage and prevents roof condensation in areas where conventional barriers might fail. Each type of material serves specific configurations, with selection depending on structural requirements, budget considerations, and long-term performance expectations for the particular installation environment.
Strategic Placement Techniques for Maximum Effectiveness
Proper vapor barrier positioning requires precise placement between insulation layers and structural elements to create an effective moisture control system. The barrier must be installed on the warm side of the insulation, which means placement between the interior living space and the insulation material in most residential applications. This positioning prevents warm, humid air from reaching the cooler insulation where condensation would occur. Roof insulation vapor barrier systems achieve the best possible performance when the barrier creates an unbroken seal across the entire roof assembly.
Attic vapor barrier placement needs careful attention for sealing around gaps such as electrical outlets, plumbing vents, and HVAC ducts. These interruptions in the barrier represent potential failure points where moisture can get through the protection system. Professional installers use specialized tapes and sealants to maintain continuity around these obstacles, ensuring the vapor barrier maintains its structural integrity throughout the roof system.
Different roof designs require specific approaches to vapor barrier materials for roof installations. Gable roofs allow straightforward barrier placement along sloped surfaces, while hip roofs present additional challenges at ridge intersections where multiple roof planes meet. Flat roofs, common in commercial applications, require modified placement strategies to accommodate different drainage patterns and structural loads. Each roof configuration needs customized installation techniques to prevent roof condensation while maintaining proper vapor barrier function across the entire roof assembly system.
The Installation Process and Best Practices
Proper preparation is important for a successful installation, beginning with thorough surface cleaning and accurate measurements. Remove all debris, dust, and loose materials from installation surfaces to ensure the seal sticks properly. Measure the entire roof carefully, accounting for overlaps and waste factors when calculating material requirements. Essential tools include utility knives, measuring tapes, staple guns, sealing tape, and safety equipment for working in confined attic spaces.
Surface preparation goes beyond basic cleaning to include inspection of structural components for damage or irregularities that could compromise barrier performance. Check for protruding nails, rough lumber edges, or gaps between framing that need attention before installation begins. Proper preparation prevents tears and gaps that would allow leaks, undermining the entire roof vapor barrier installation effort.
The installation sequence starts at the lowest point of the roof and progresses upward, creating water-shedding patterns. Begin by rolling out the vapor barrier materials across the first section, allowing adequate material for securing along edges and creating overlaps with adjacent sections. Maintain consistent overlap widths of at least 6 inches between sheets to ensure complete coverage without gaps.
Securing methods include mechanical fasteners placed at regular intervals along framing members, supplemented with specialized sealing tapes at all seams and gaps. Quality checkpoints throughout installation verify proper overlap alignment, secure attachment, and complete sealing around obstacles. This approach ensures the attic vapor barrier placement achieves maximum effectiveness in preventing roof condensation while maintaining long-term durability and performance standards.
Sealing and Finishing Techniques for Air-Tight Performance
Achieving professional-grade sealing requires attention to every joint, gap, and edge where the vapor barrier meets other building components. High-quality sealing tapes specifically designed for vapor barrier applications provide superior adhesion and long-term durability compared to standard construction tapes. These specialized products maintain their sealing properties across temperature variations and humidity fluctuations common in Florida’s climate. Butyl-based adhesive tapes excel in roof vapor barrier installation due to their flexibility and resistance to aging, while acrylic adhesives offer excellent initial tack for immediate positioning during installation.
Mechanical fastening systems supplement adhesive sealing to create extra protection against air leaks. Staples placed at regular intervals along framing members secure the barrier material while specialized washers distribute loads to prevent tearing around fastener locations. Cap nails provide additional holding power in areas subject to wind uplift or thermal movement. The combination of mechanical fasteners and adhesive sealing creates a robust connection that holds the vapor barrier’s structural integrity throughout the roof system’s service life.
Professional inspection procedures verify complete coverage by conducting visual examinations of all seams, overlaps, and gap points. Light transmission testing identifies small gaps or pinholes that might compromise the barrier’s effectiveness. Smoke pencil testing around edges and joints reveals air movement that indicates incomplete sealing. These verification methods ensure the vapor barrier achieves the best performance in preventing roof condensation while maintaining the air-tight seal necessary for proper moisture control within the roof assembly system.
Common Installation Mistakes and How to Avoid Them
Improper overlap patterns represent one of the most frequent errors in roof vapor barrier installation, often resulting from inadequate planning or rushed execution. Many installers create insufficient overlap widths between barrier sheets, leaving gaps where moisture can get into the system. Standard practice requires a minimum 6-inch overlap, but challenging roof geometries may need wider overlaps to maintain complete coverage. Reverse overlap installation creates another common problem where sheets are positioned to direct moisture toward gaps rather than away from vulnerable areas. Proper overlap sequencing ensures each sheet covers the lower sheet’s edge, creating a water-shedding pattern that prevents leaks.
Inadequate sealing around gaps frequently compromises vapor barrier effectiveness, particularly at electrical boxes, plumbing vents, and HVAC components. Professional installations utilize specialized butyl tapes and compatible sealants designed specifically for attic vapor barrier placement applications. These materials maintain flexibility across temperature cycles while creating permanent bonds with both the barrier material and other components.
Incorrect barrier placement on the cold side of insulation creates condensation problems within the roof assembly rather than preventing them. This fundamental error occurs when installers misunderstand vapor drive principles or work without proper technical guidance. The vapor barrier materials for roofing must be positioned between heated interior spaces and insulation layers to function correctly. When professional assessment reveals placement errors, corrective measures include barrier removal and reinstallation using proper positioning techniques to restore effective prevention of roof condensation performance throughout the roof system.
Maintenance and Long-Term Performance
Establishing routine inspection schedules ensures the roof vapor barrier installation maintains peak performance throughout its service life. Property owners should conduct visual assessments twice a year, examining accessible barrier areas for signs of damage, deterioration, or seal failure. Key indicators of vapor barrier degradation include visible tears, loose seams, and discolored areas that could mean a leak is present. Dark staining around electrical gaps or HVAC components often signals seal breakdown, where immediate attention prevents extensive moisture damage. These inspections should coincide with seasonal HVAC maintenance to identify problems before they compromise the entire roof vapor barrier installation system.
Professional evaluation becomes necessary when homeowners discover condensation issues, unexplained humidity increases, or musty odors that suggest leaks. Thermal imaging technology reveals temperature differentials that indicate air leakage through compromised vapor barriers. These diagnostic tools help identify problem areas that visual inspection might miss, particularly in concealed roof cavities where vapor barrier materials for roofing connect with structural elements.
Successful integration strategies combine vapor barriers with complementary building systems to maximize overall performance. Proper ventilation designs work together with attic vapor barrier placement to manage moisture levels that exceed barrier capacity during extreme weather conditions. Coordinated insulation upgrades enhance the roof insulation vapor barrier system by reducing thermal bridging that creates condensation-prone surfaces. Balanced ventilation systems remove excess moisture while maintaining pressure differentials that support vapor barrier function. This comprehensive approach makes the most use out of the energy-efficient material while preventing roof condensation through multiple protective mechanisms that work together to maintain the best indoor environmental conditions.
Roof Vapor Barrier Installation by SouthShore Roofing & Exteriors
If you’re a homeowner in Tampa facing the challenges of humidity and moisture, ensuring your roof has a professionally installed vapor barrier is important. SouthShore Roofing & Exteriors specializes in the installation of high-quality vapor barriers that protect your home from water damage, mold growth, and energy loss. Our team understands the specific needs of Tampa homes and uses the best materials and strategic placement techniques to enhance your roof’s performance and durability.
Don’t let improper installation compromise your home’s integrity. Call SouthShore Roofing & Exteriors today at (813) 400-3329 and schedule a consultation!
Related Articles
-
 October 23, 2025The Importance of a Roof Vapor Barrier for Protecting Your Tampa HomeMoisture poses one of the most serious threats to residential roofing systems, causing structural damage, mold growth, and compromised energy efficiency. A roof vapor barrier serves as a critical defense mechanism, preventing water vapor from seeping into roof assemblies and attic spaces where it can condense and create problems. Tampa’s humid subtropical climate can create […]
 -
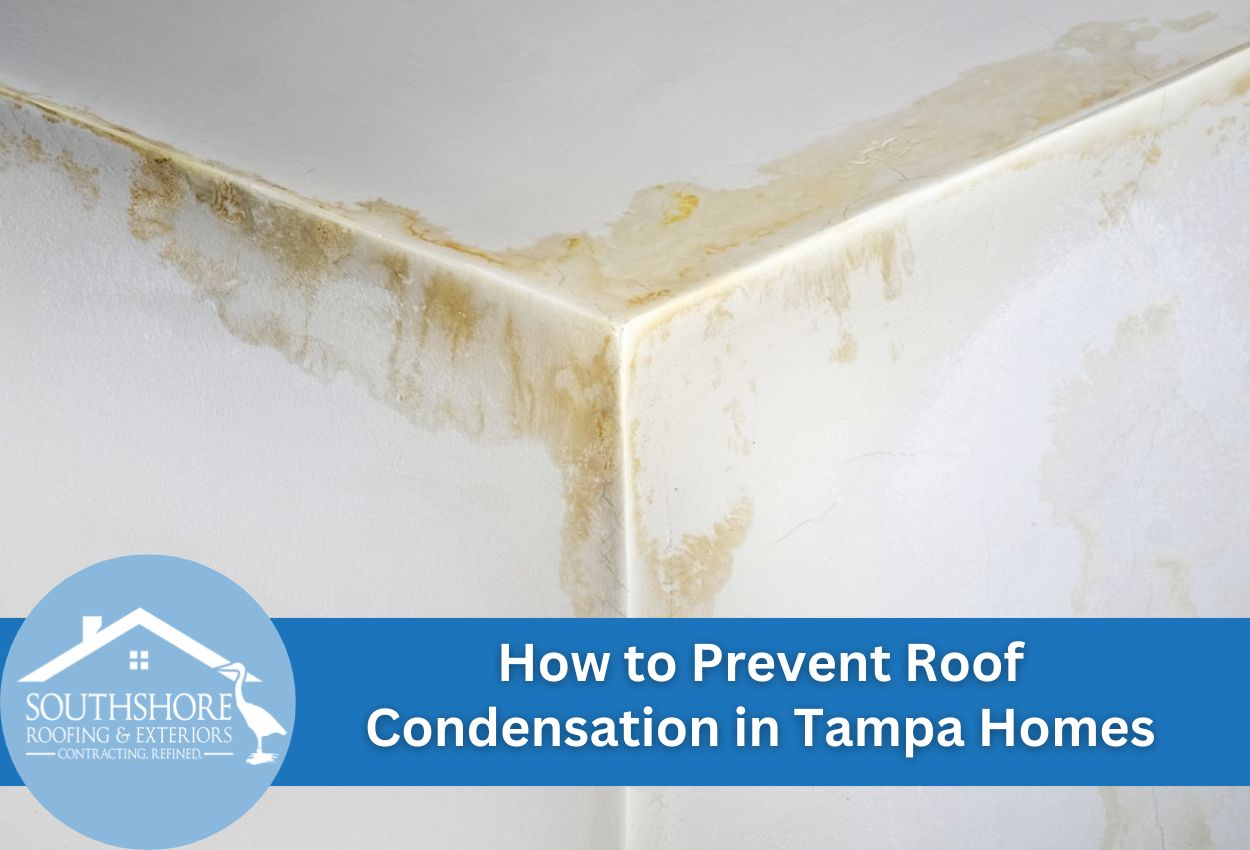 November 5, 2025How to Prevent Roof Condensation in Tampa HomesDealing with roof moisture issues? Learn how proper ventilation, insulation, and vapor barriers can prevent condensation and protect.
 -
 November 17, 2025The Best Roofing Materials for Humid ClimatesFacing humidity-related roof damage? Learn the best mold- and moisture-resistant roofing materials for humid climates.
Protect Your Home with Expert Roofing
Don’t wait for leaks or storm damage to cause costly repairs. Our experienced roofing team provides fast, reliable service, high-quality materials, and lasting results. Ensure your home stays safe, secure, and looking great—contact us today for a free estimate.


